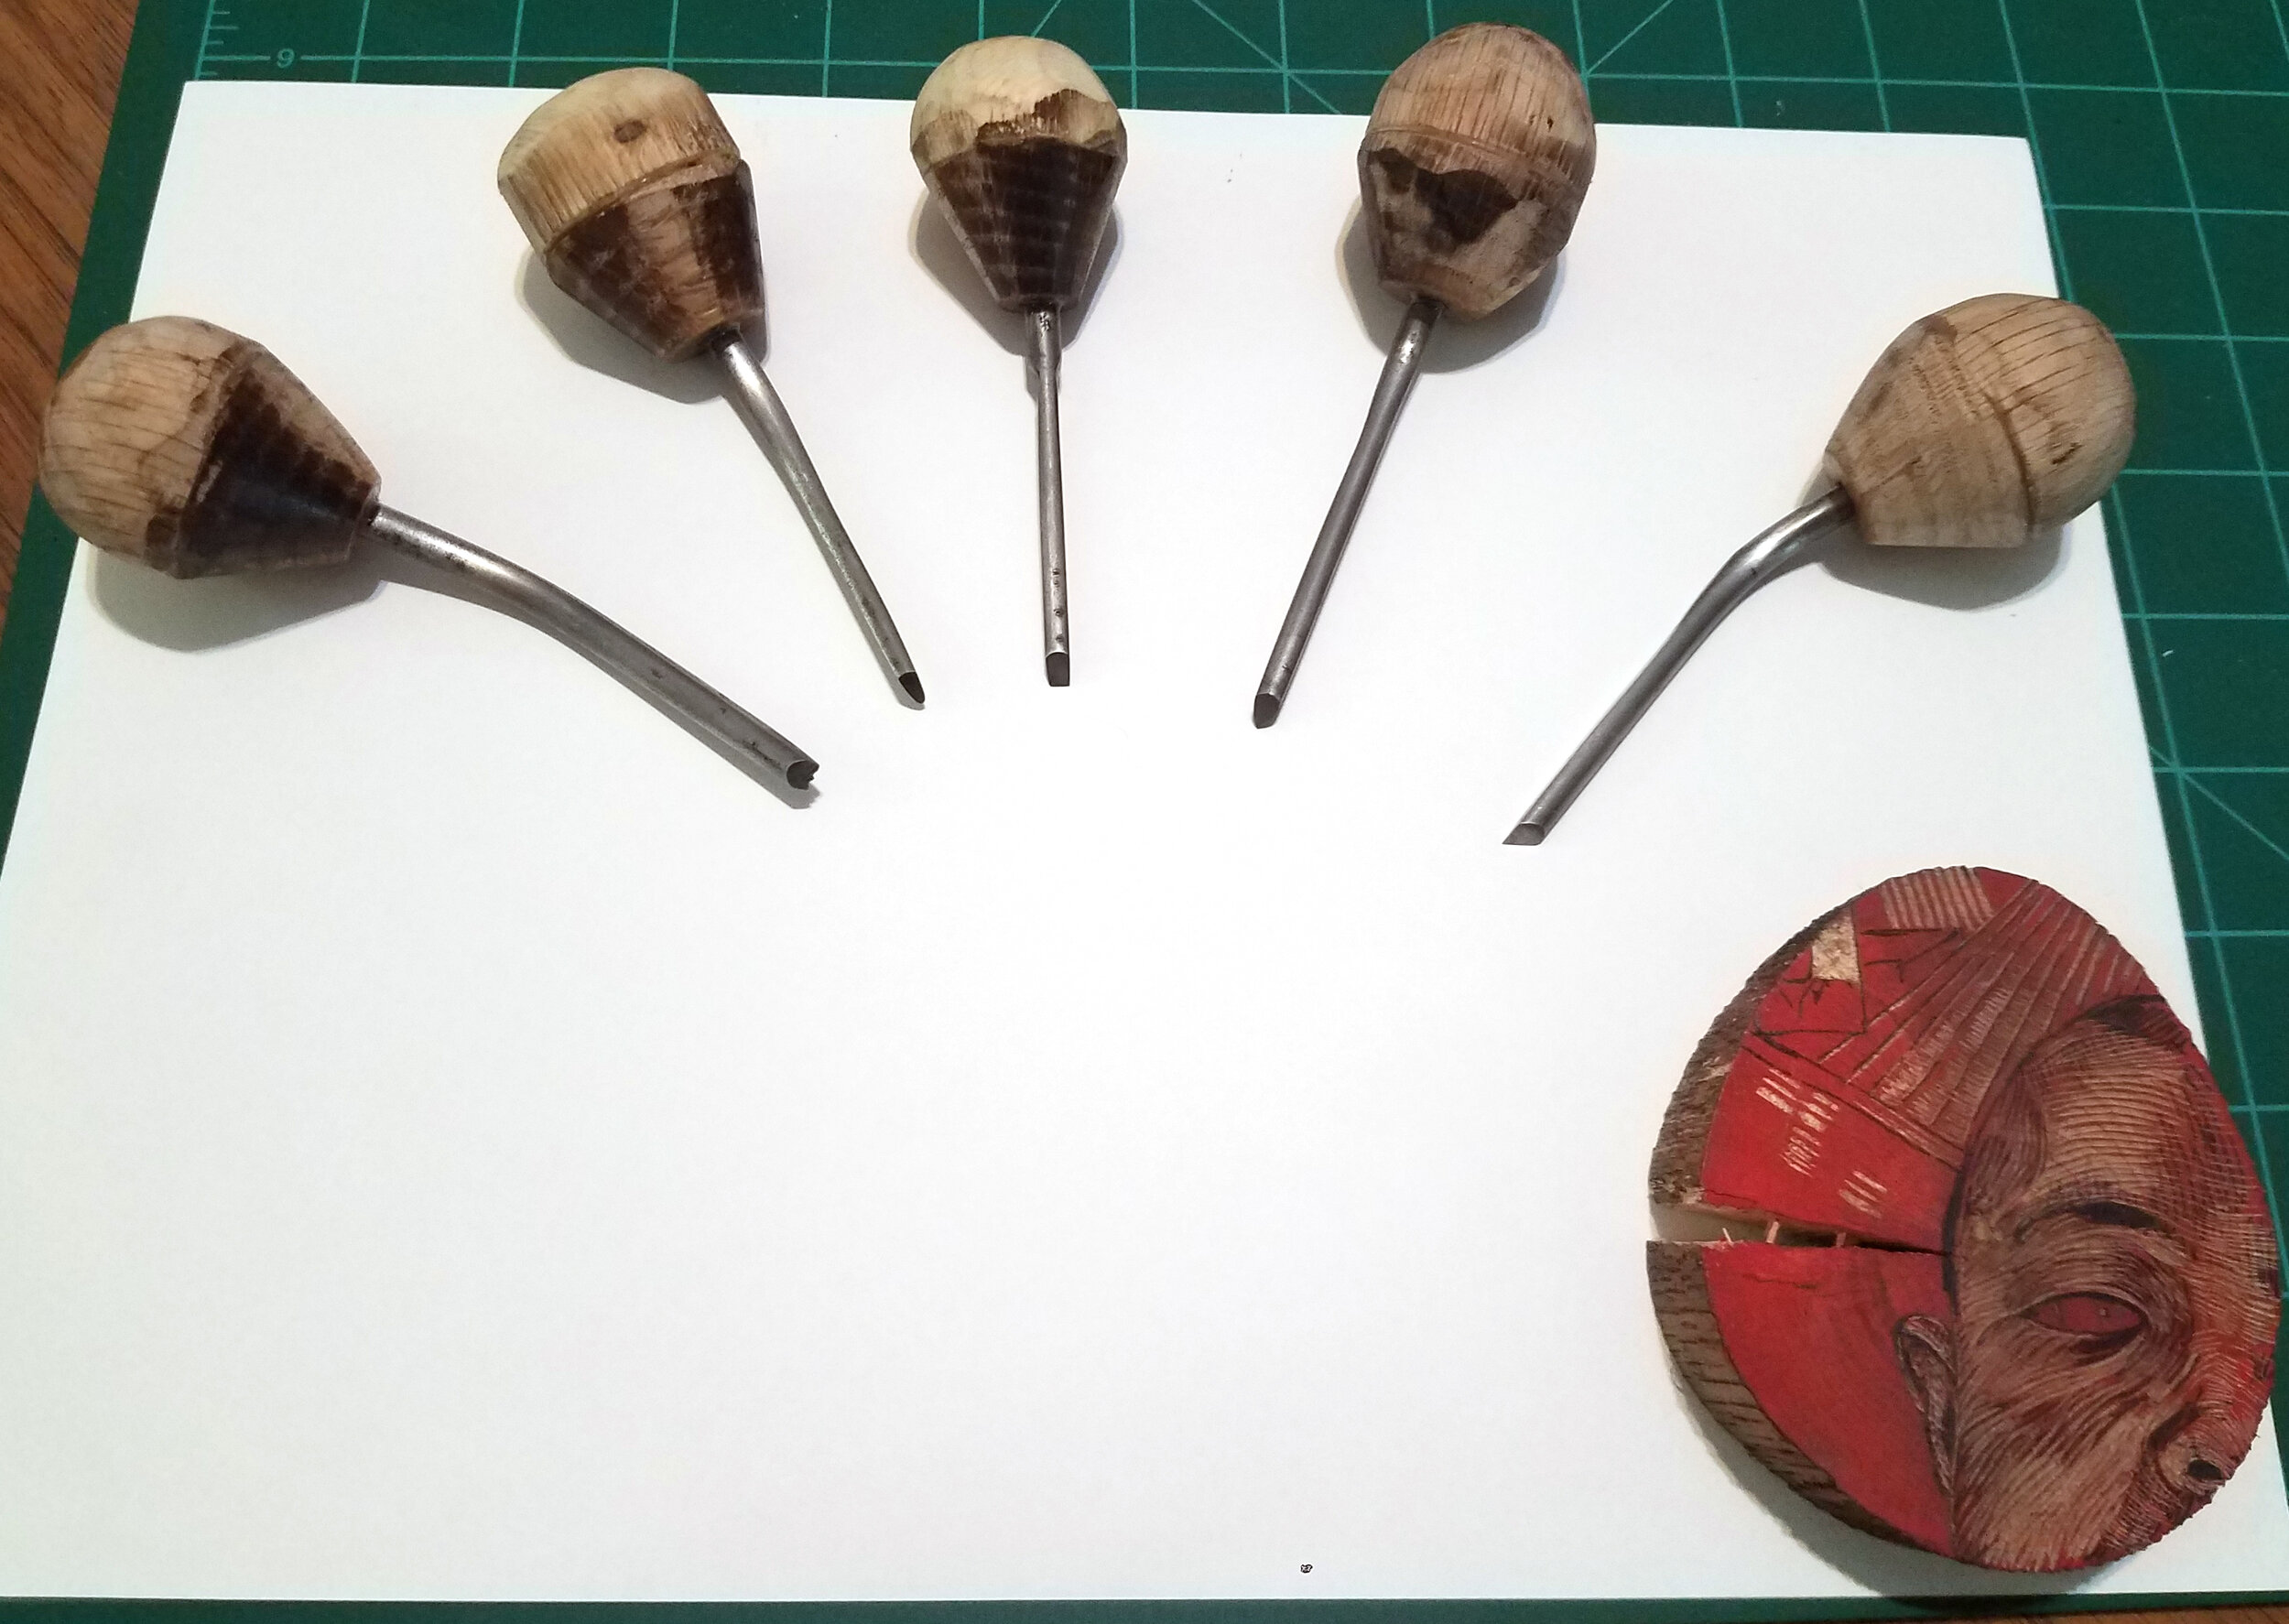
This was a great project, and a good way to lose a lot of time in the shop. I have always wanted to do wood engraving. Wood engraving is a relief printmaking process that allows for much finer line quality because it is typically carved on the end grain of a hard wood or on a synthetic material like resingrave or sintra.
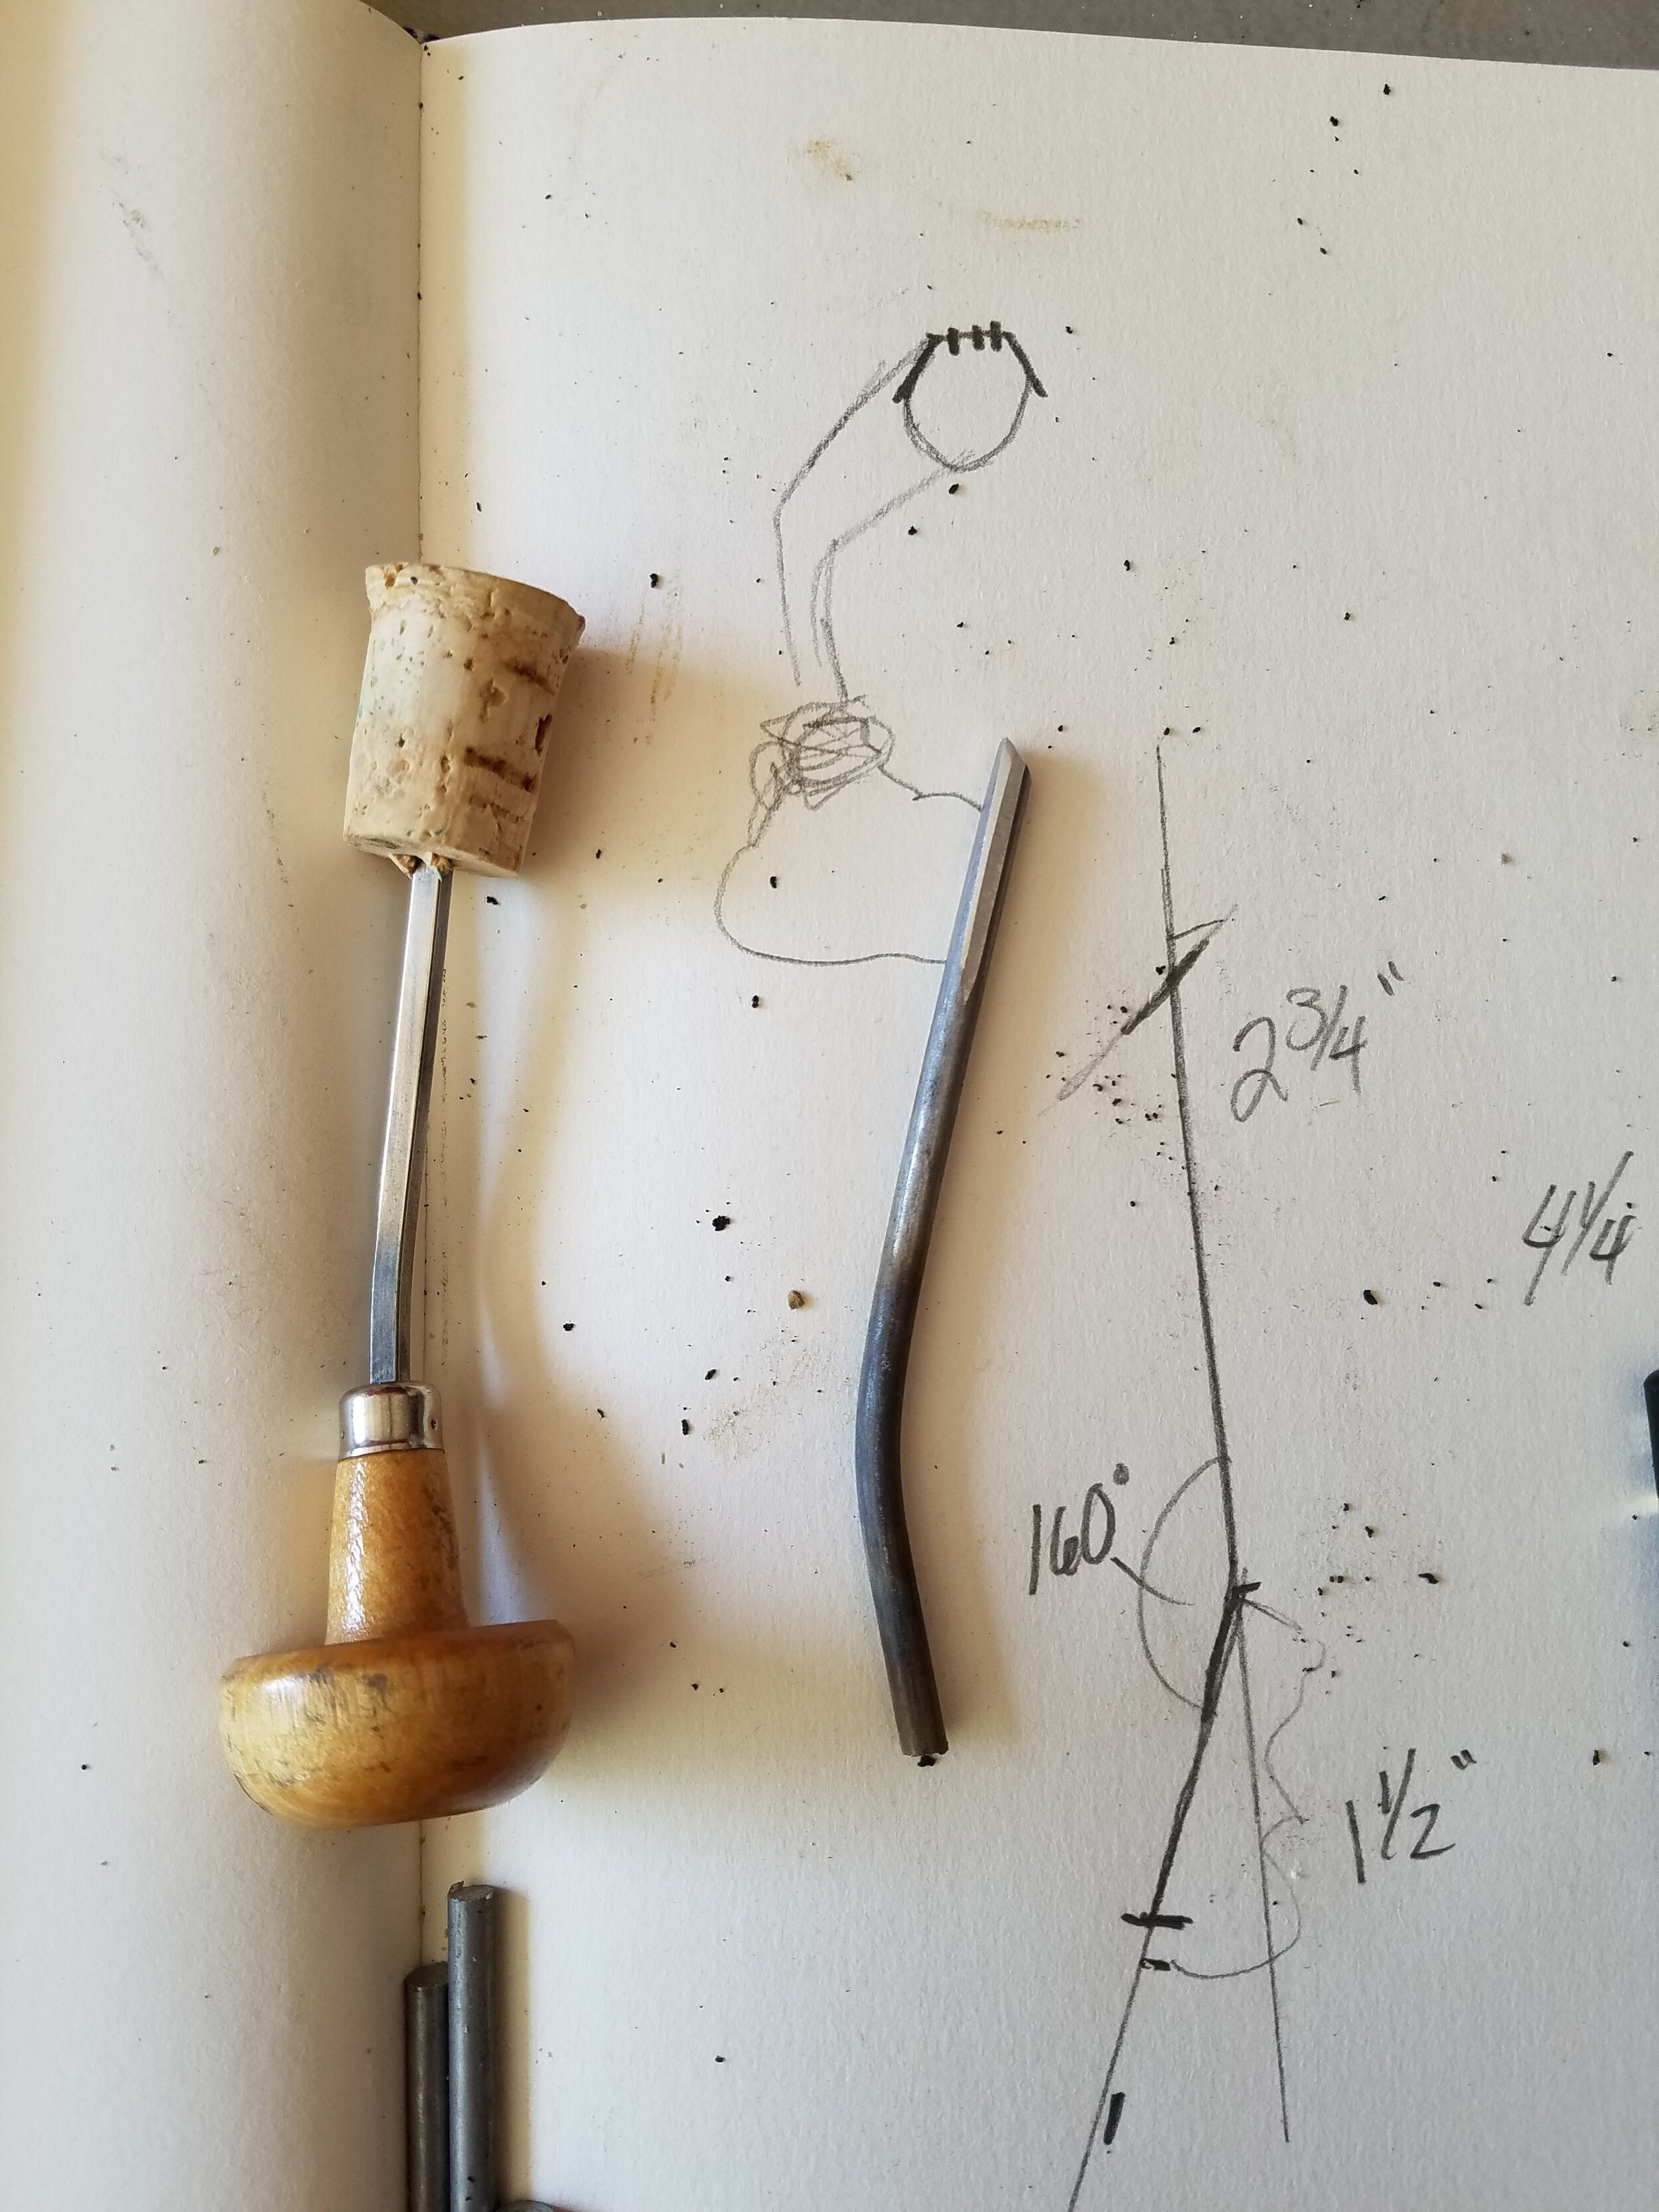
I began by copying the angle of a metal engraver. I cut lengths of O1 tool steel and matched the angle.
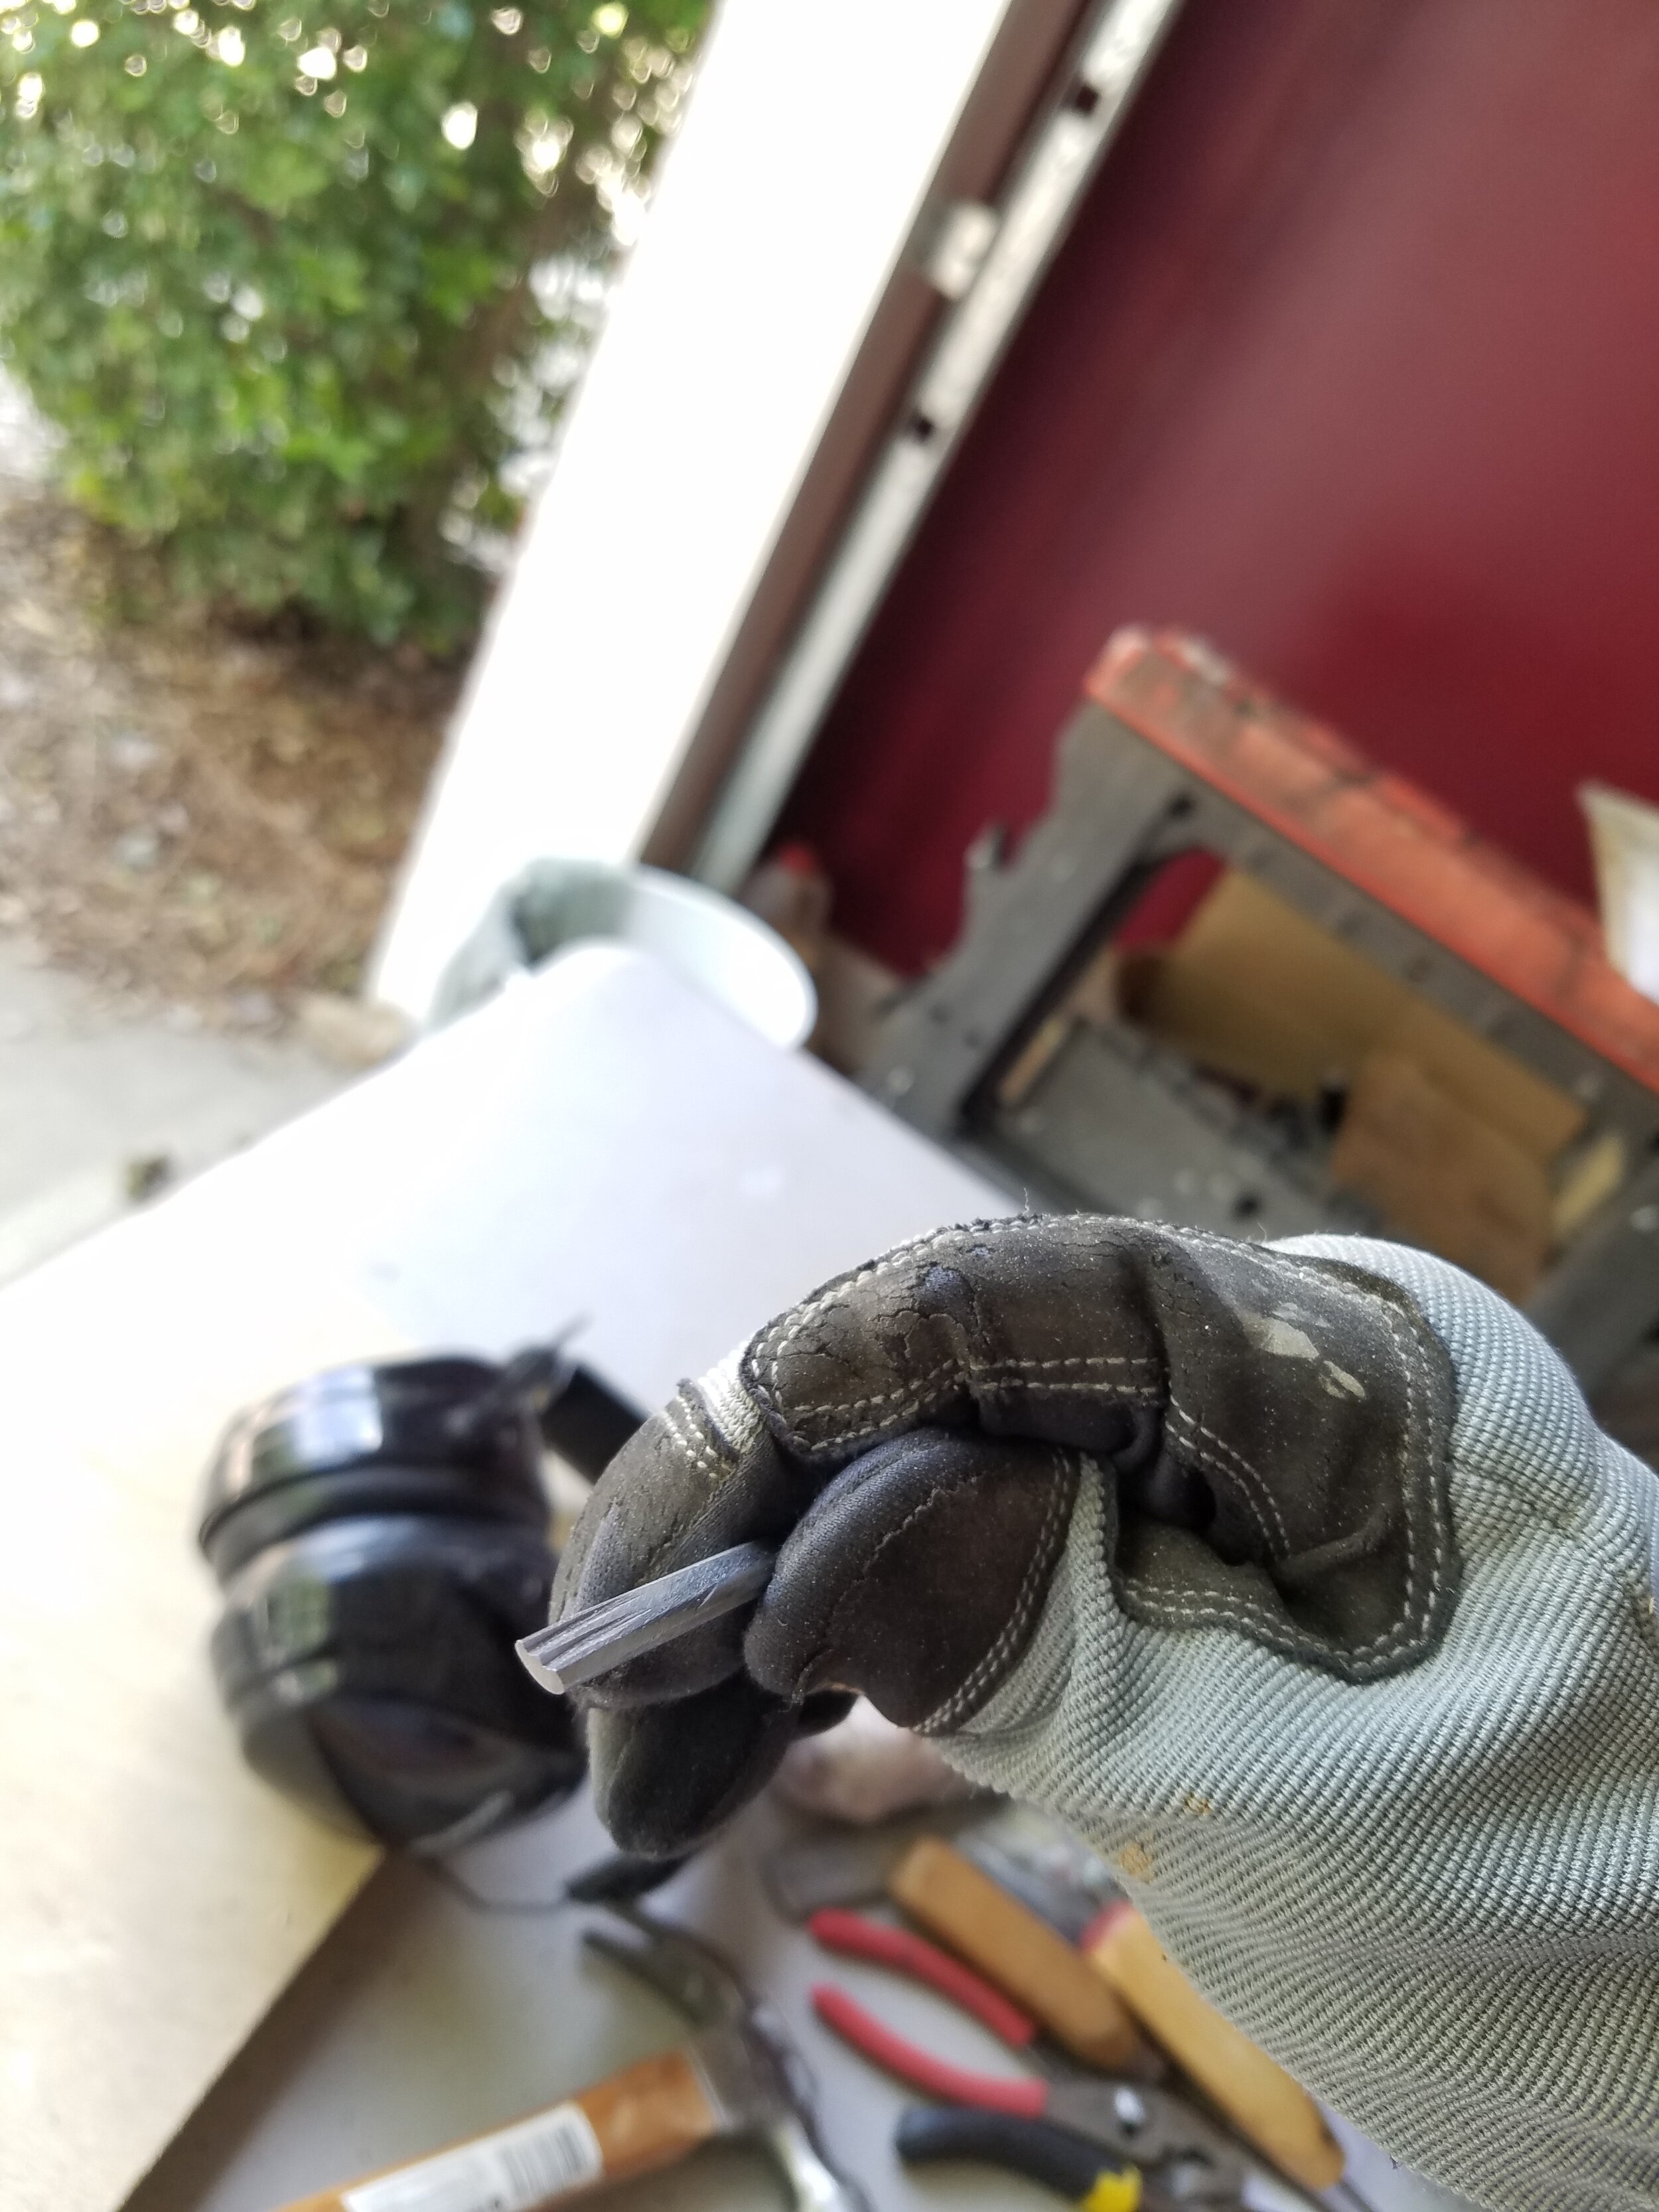
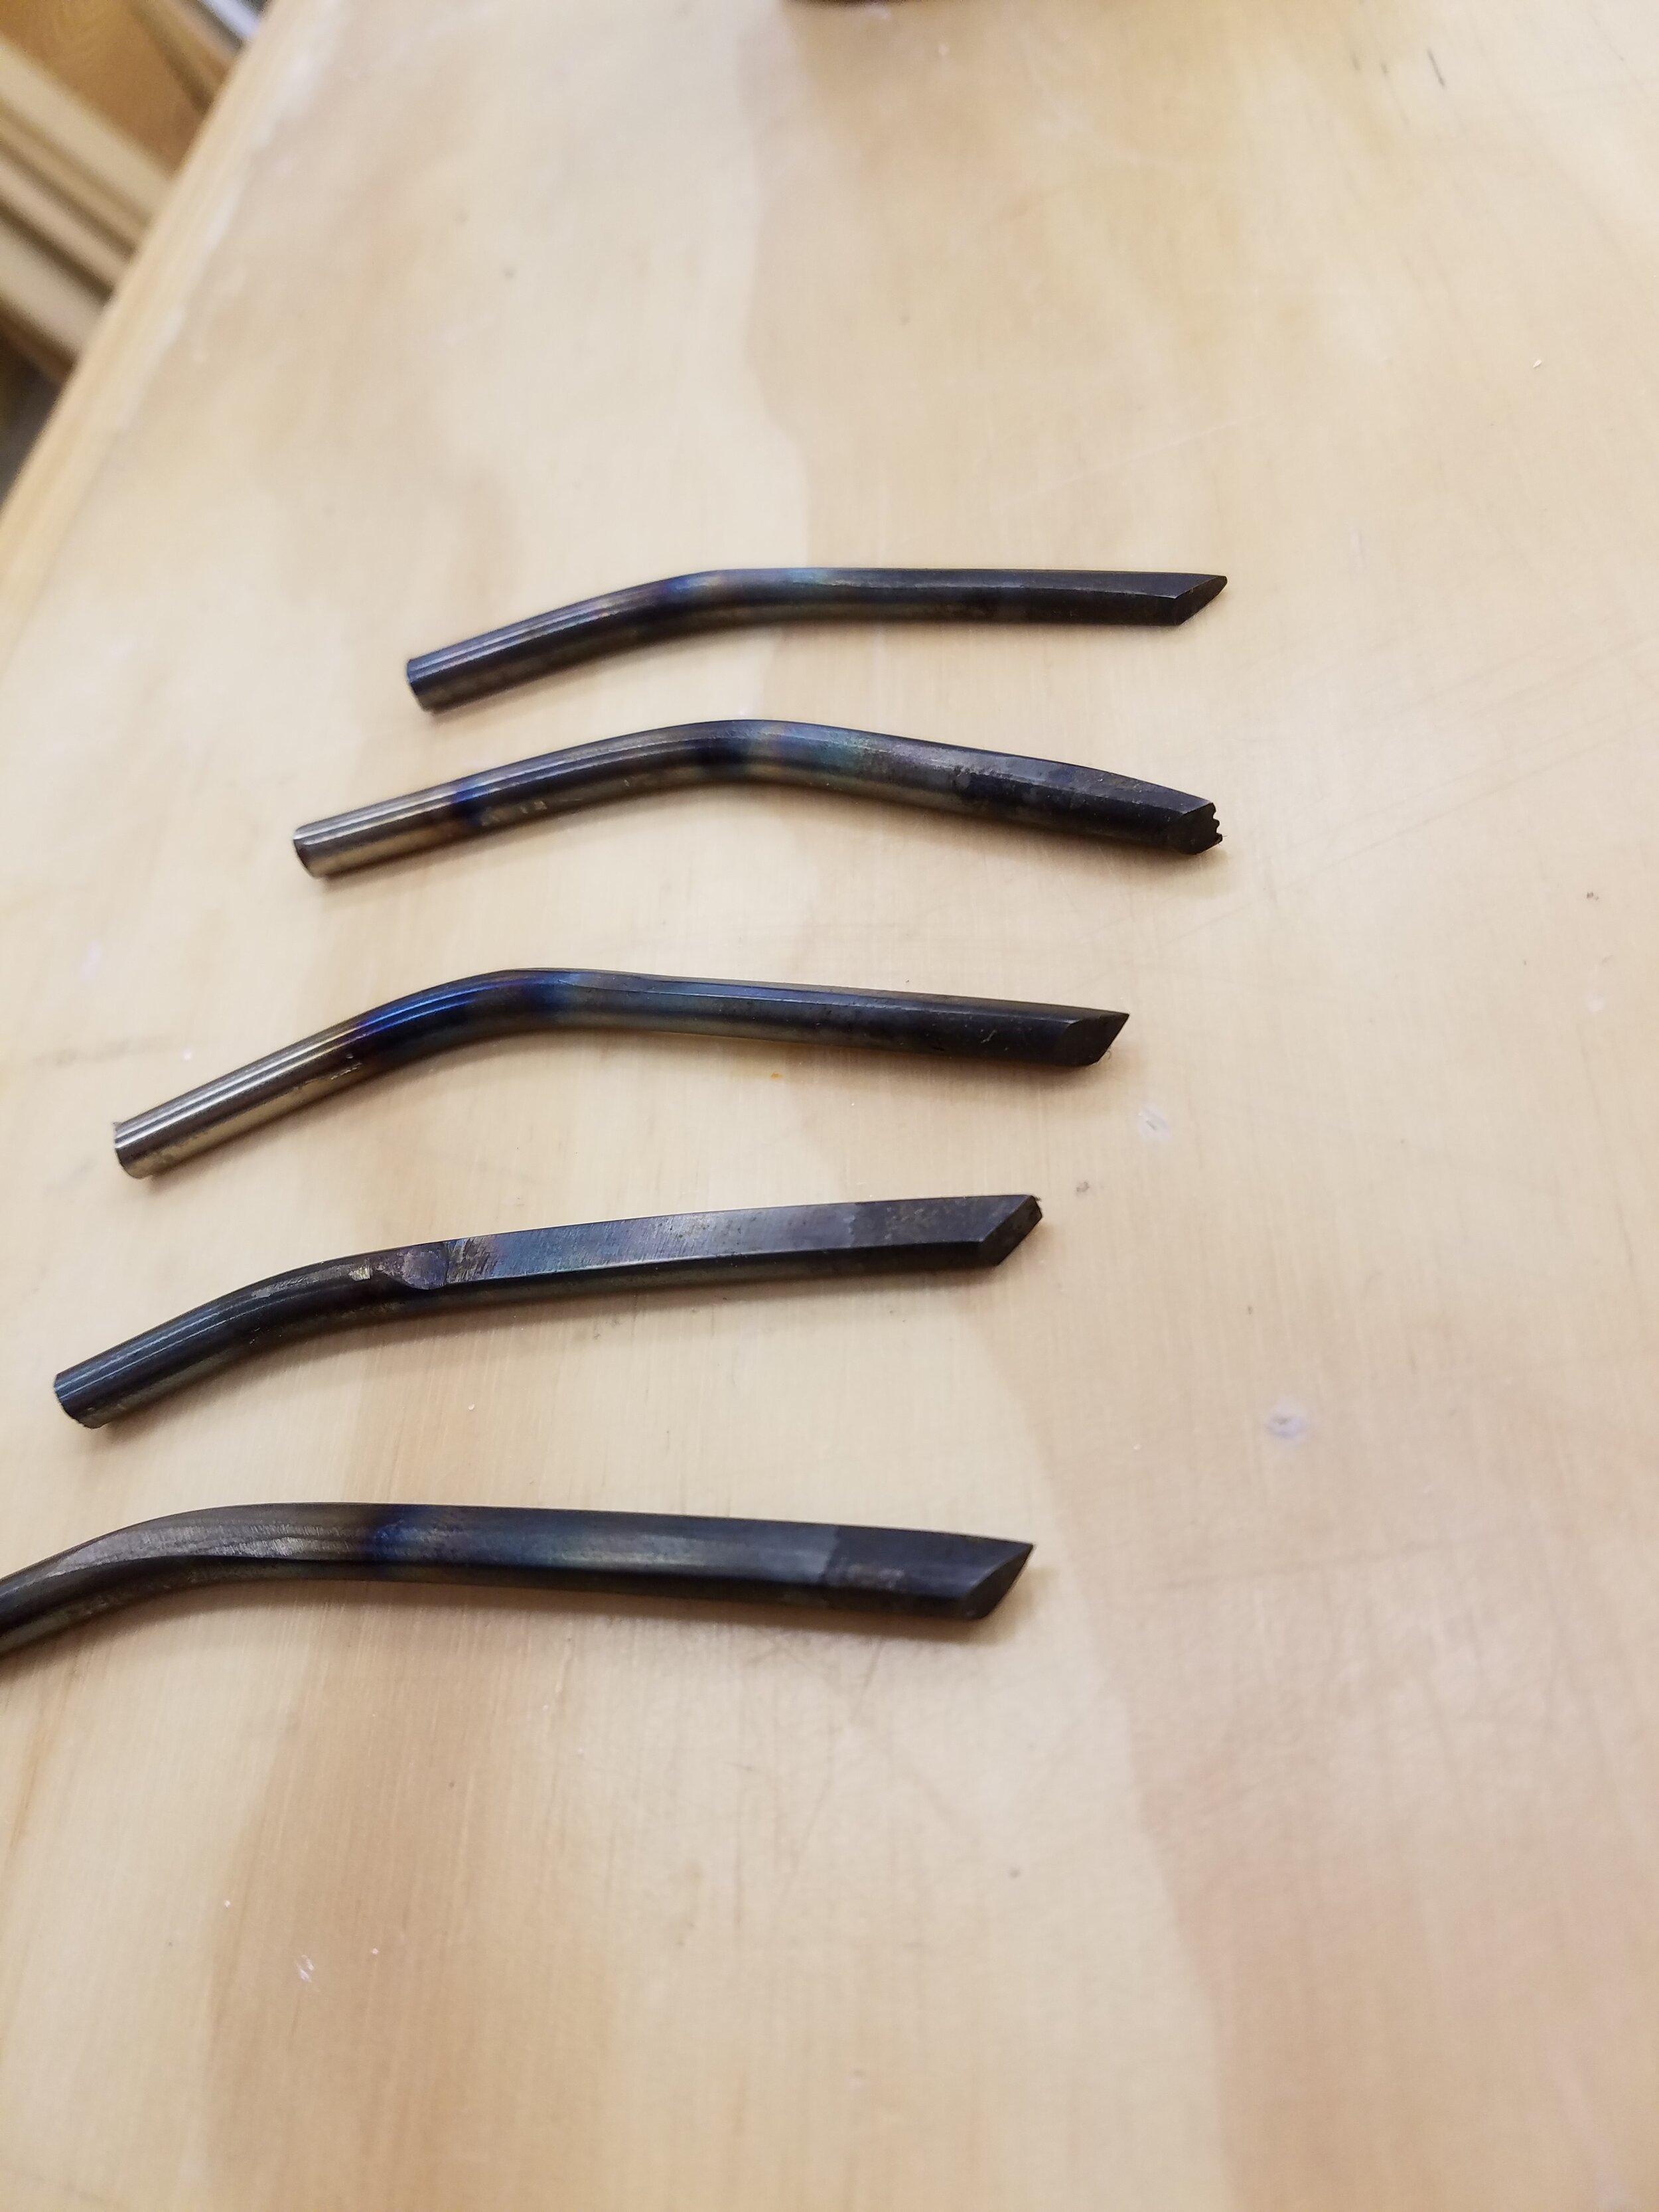
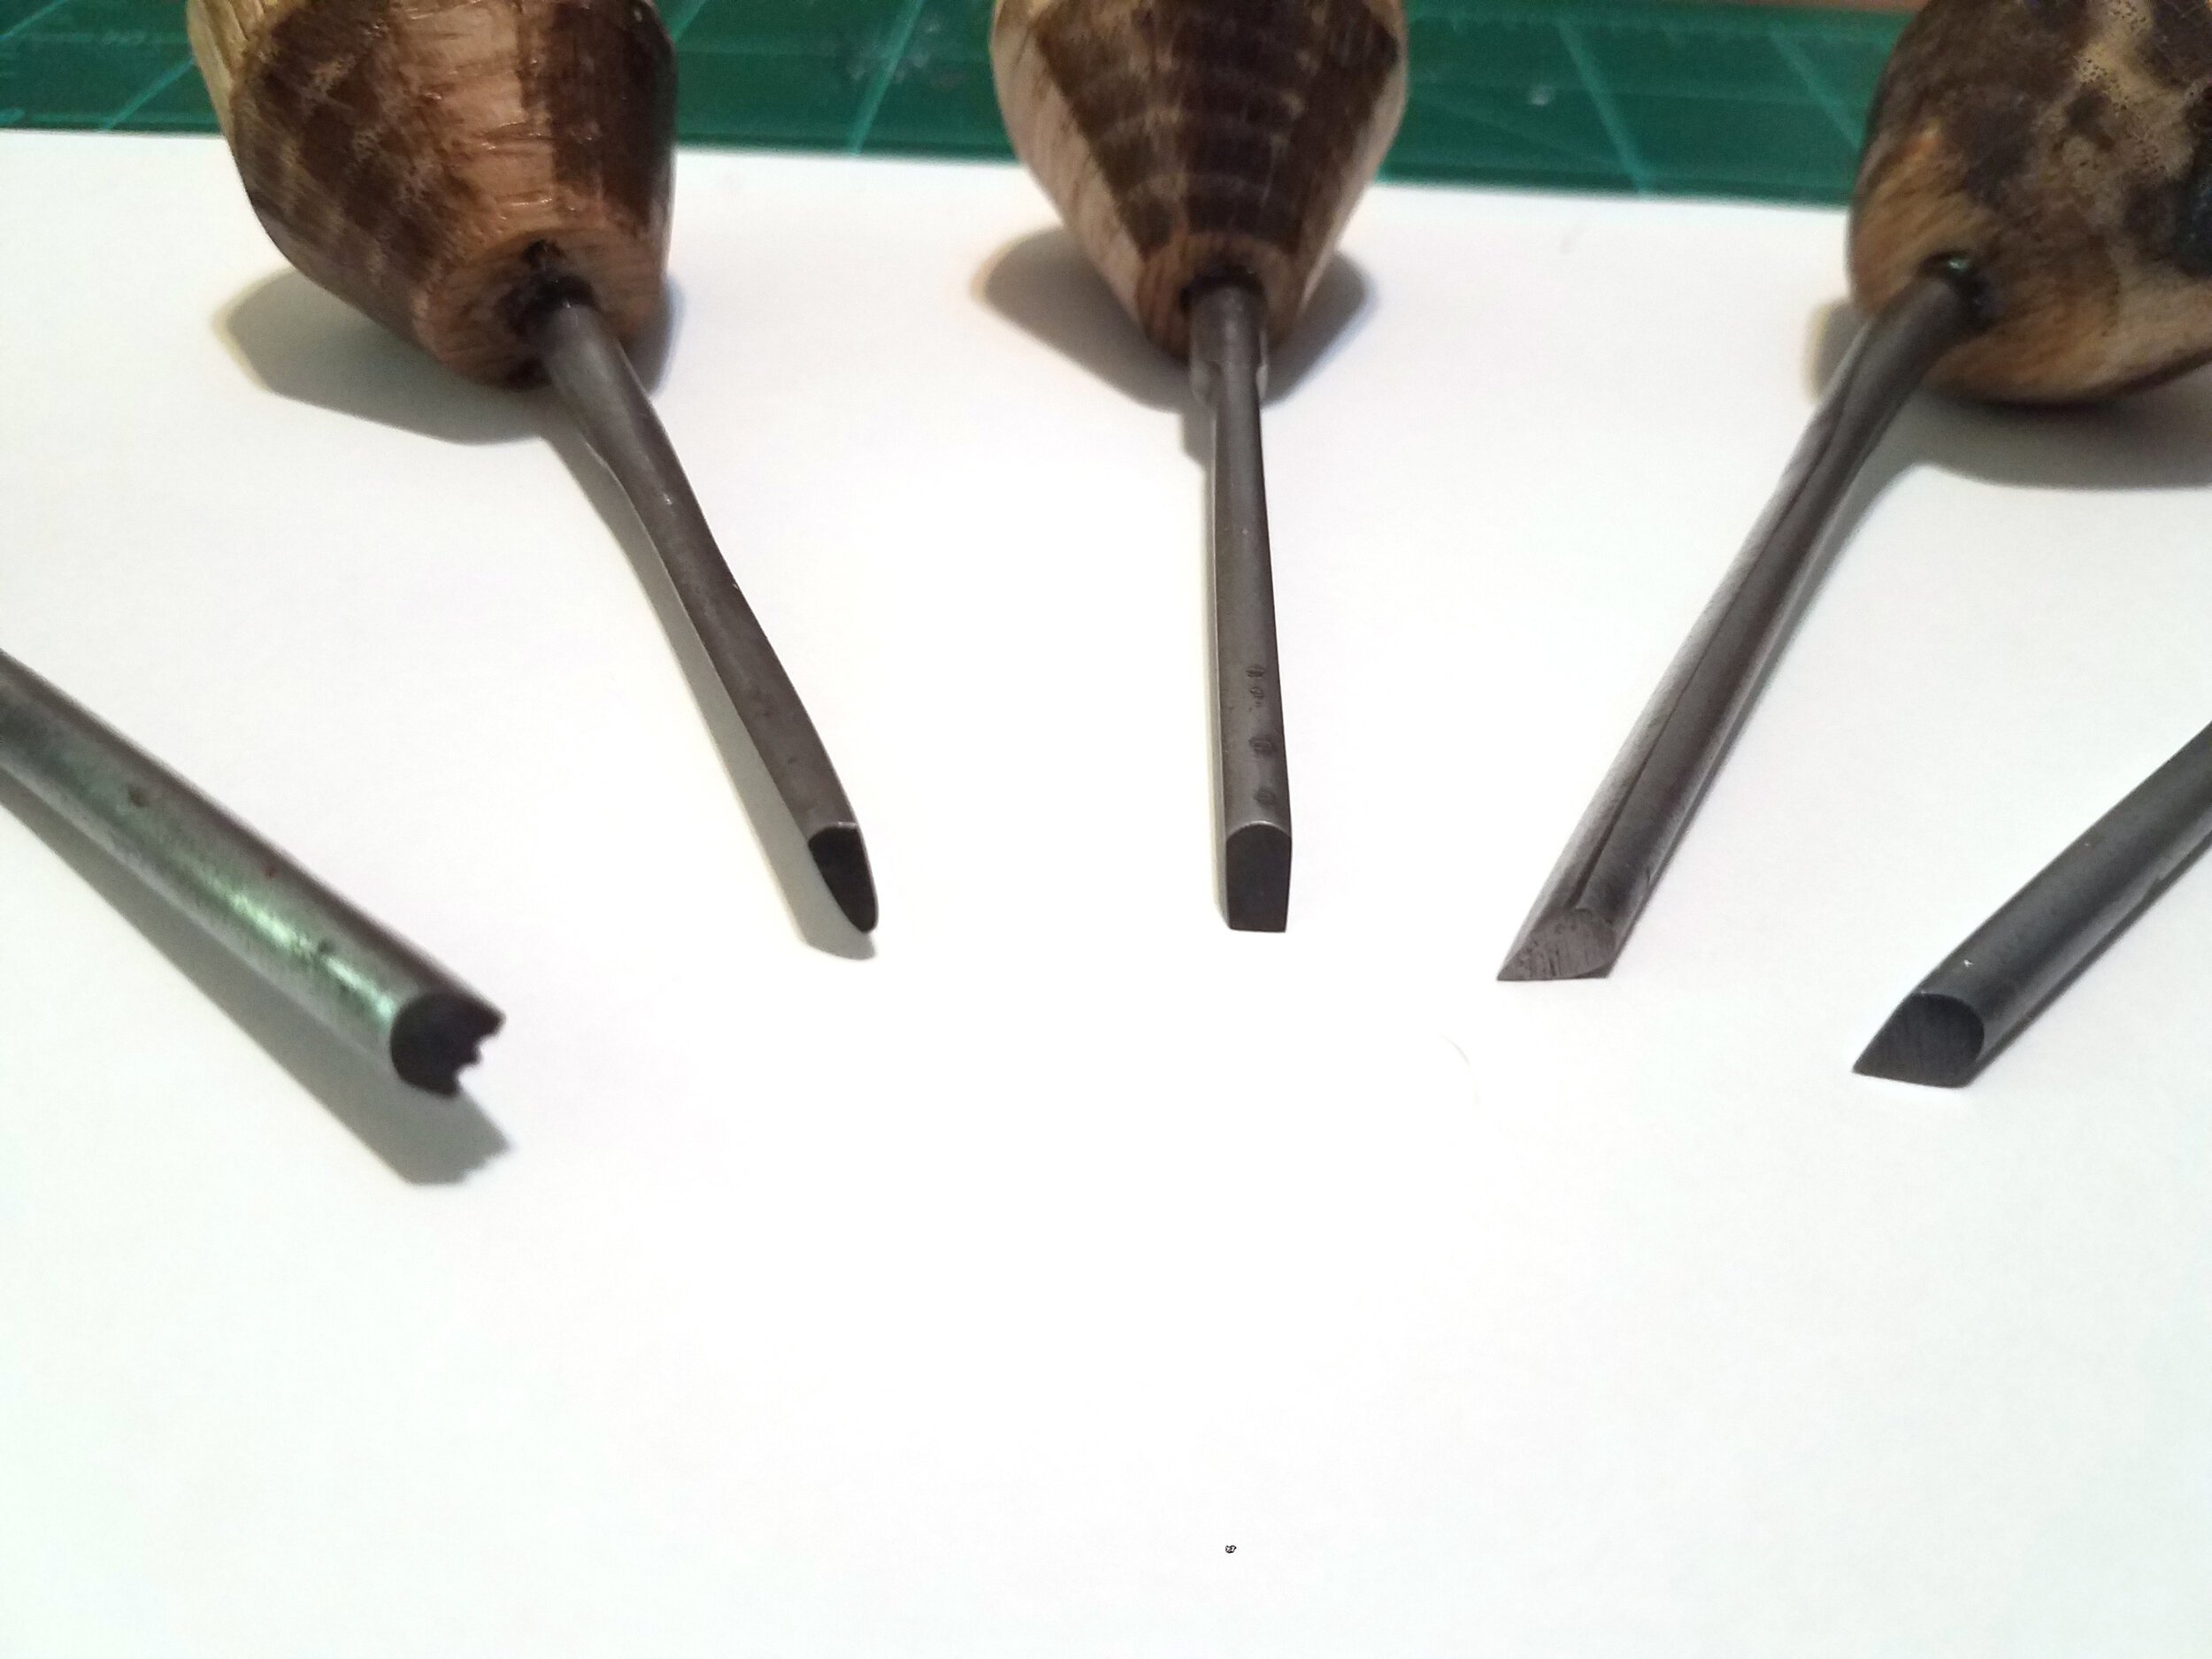
I shaped the ends to serve different roles. The types I made are: graver, scorper, spitsticker, flat graver, and 3 liner.
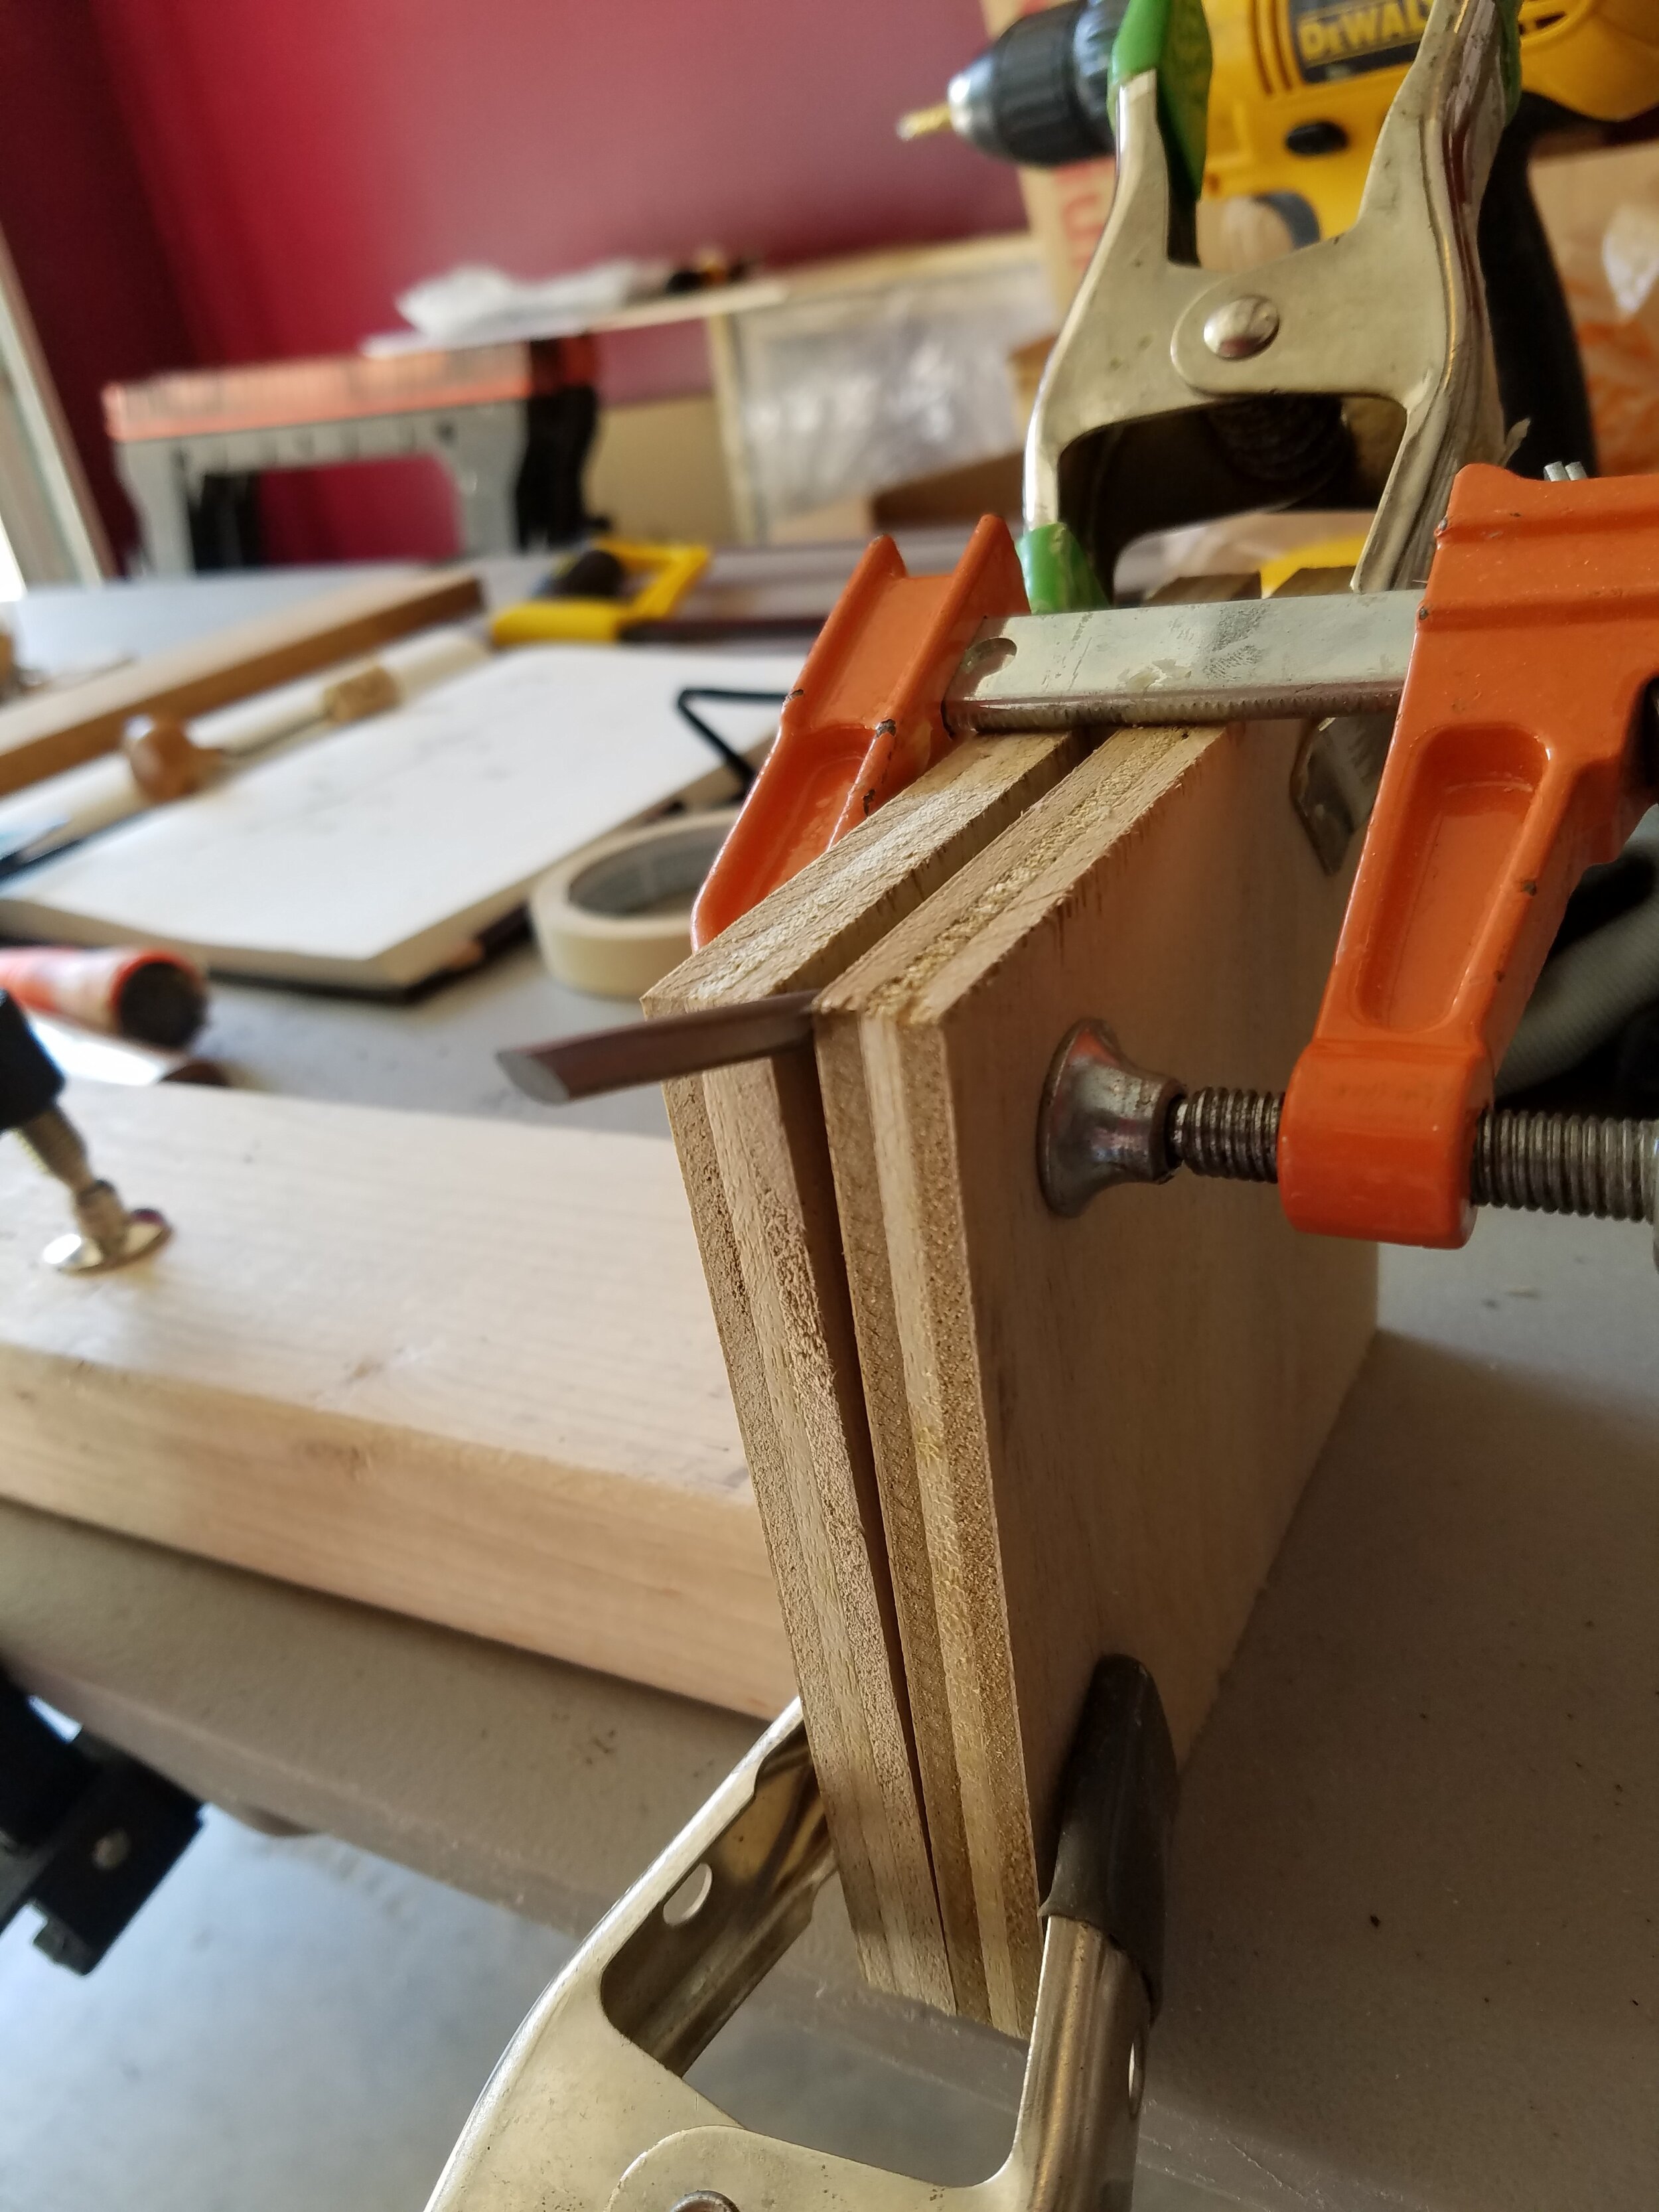
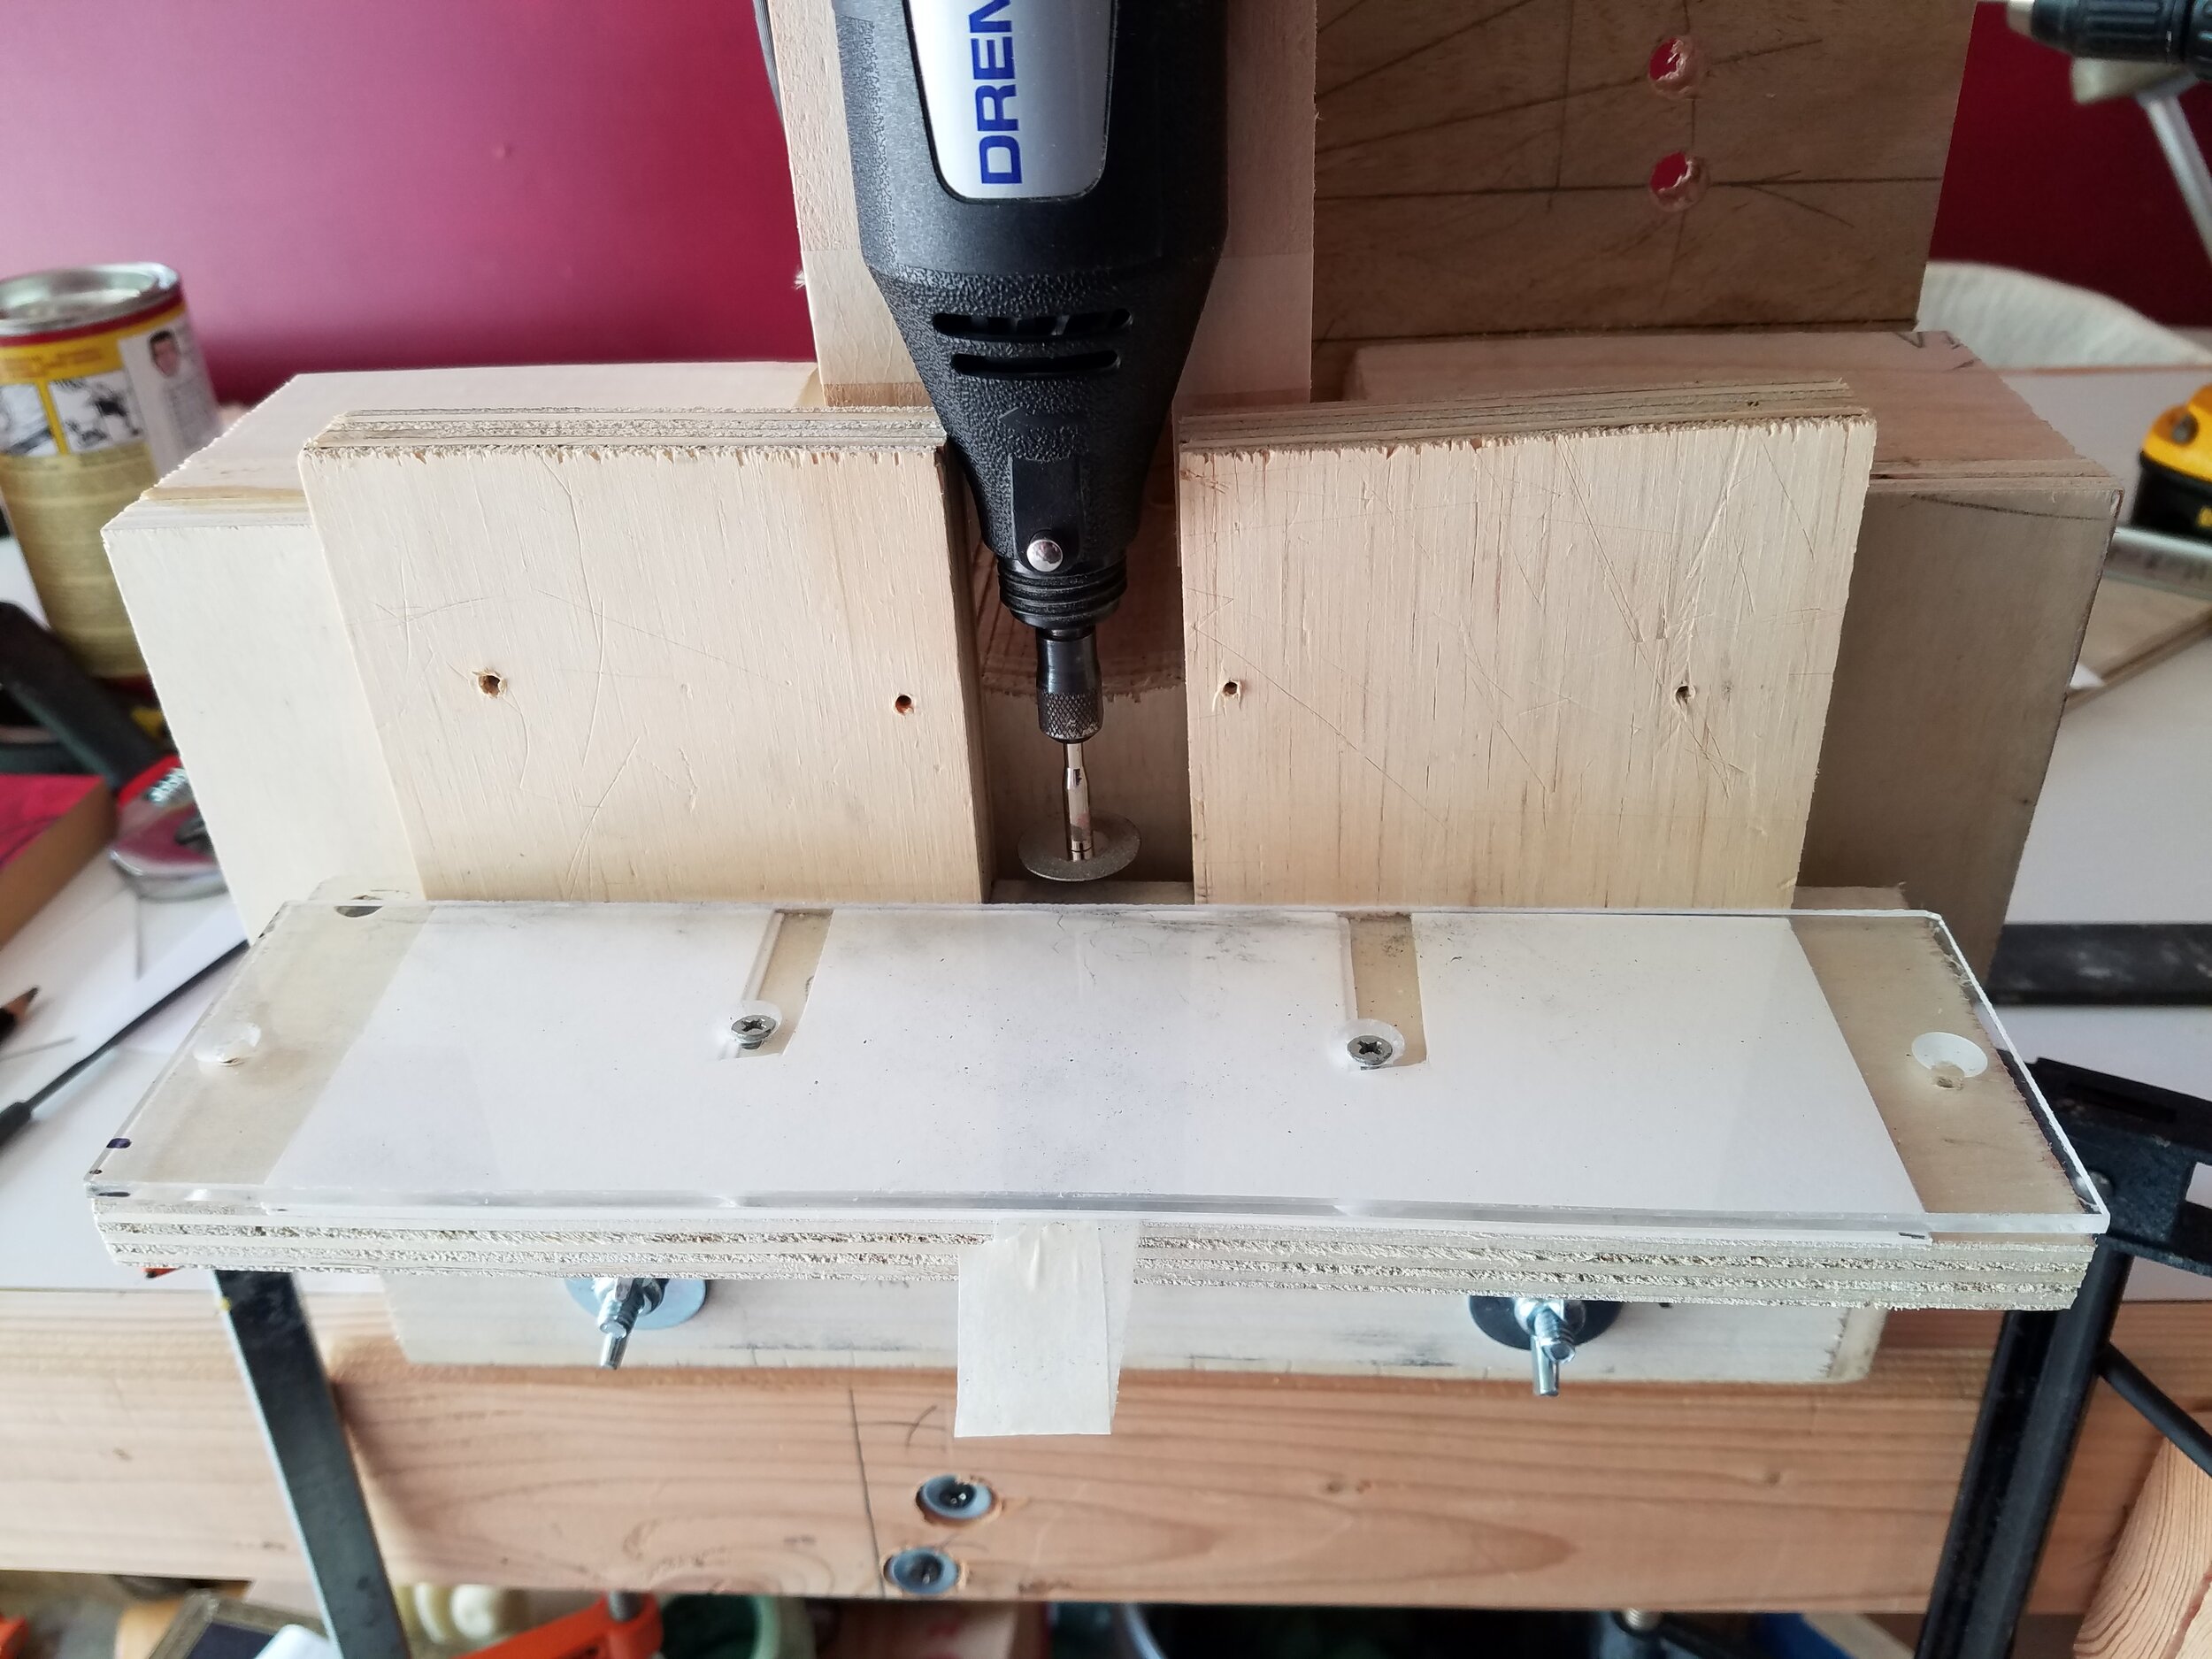
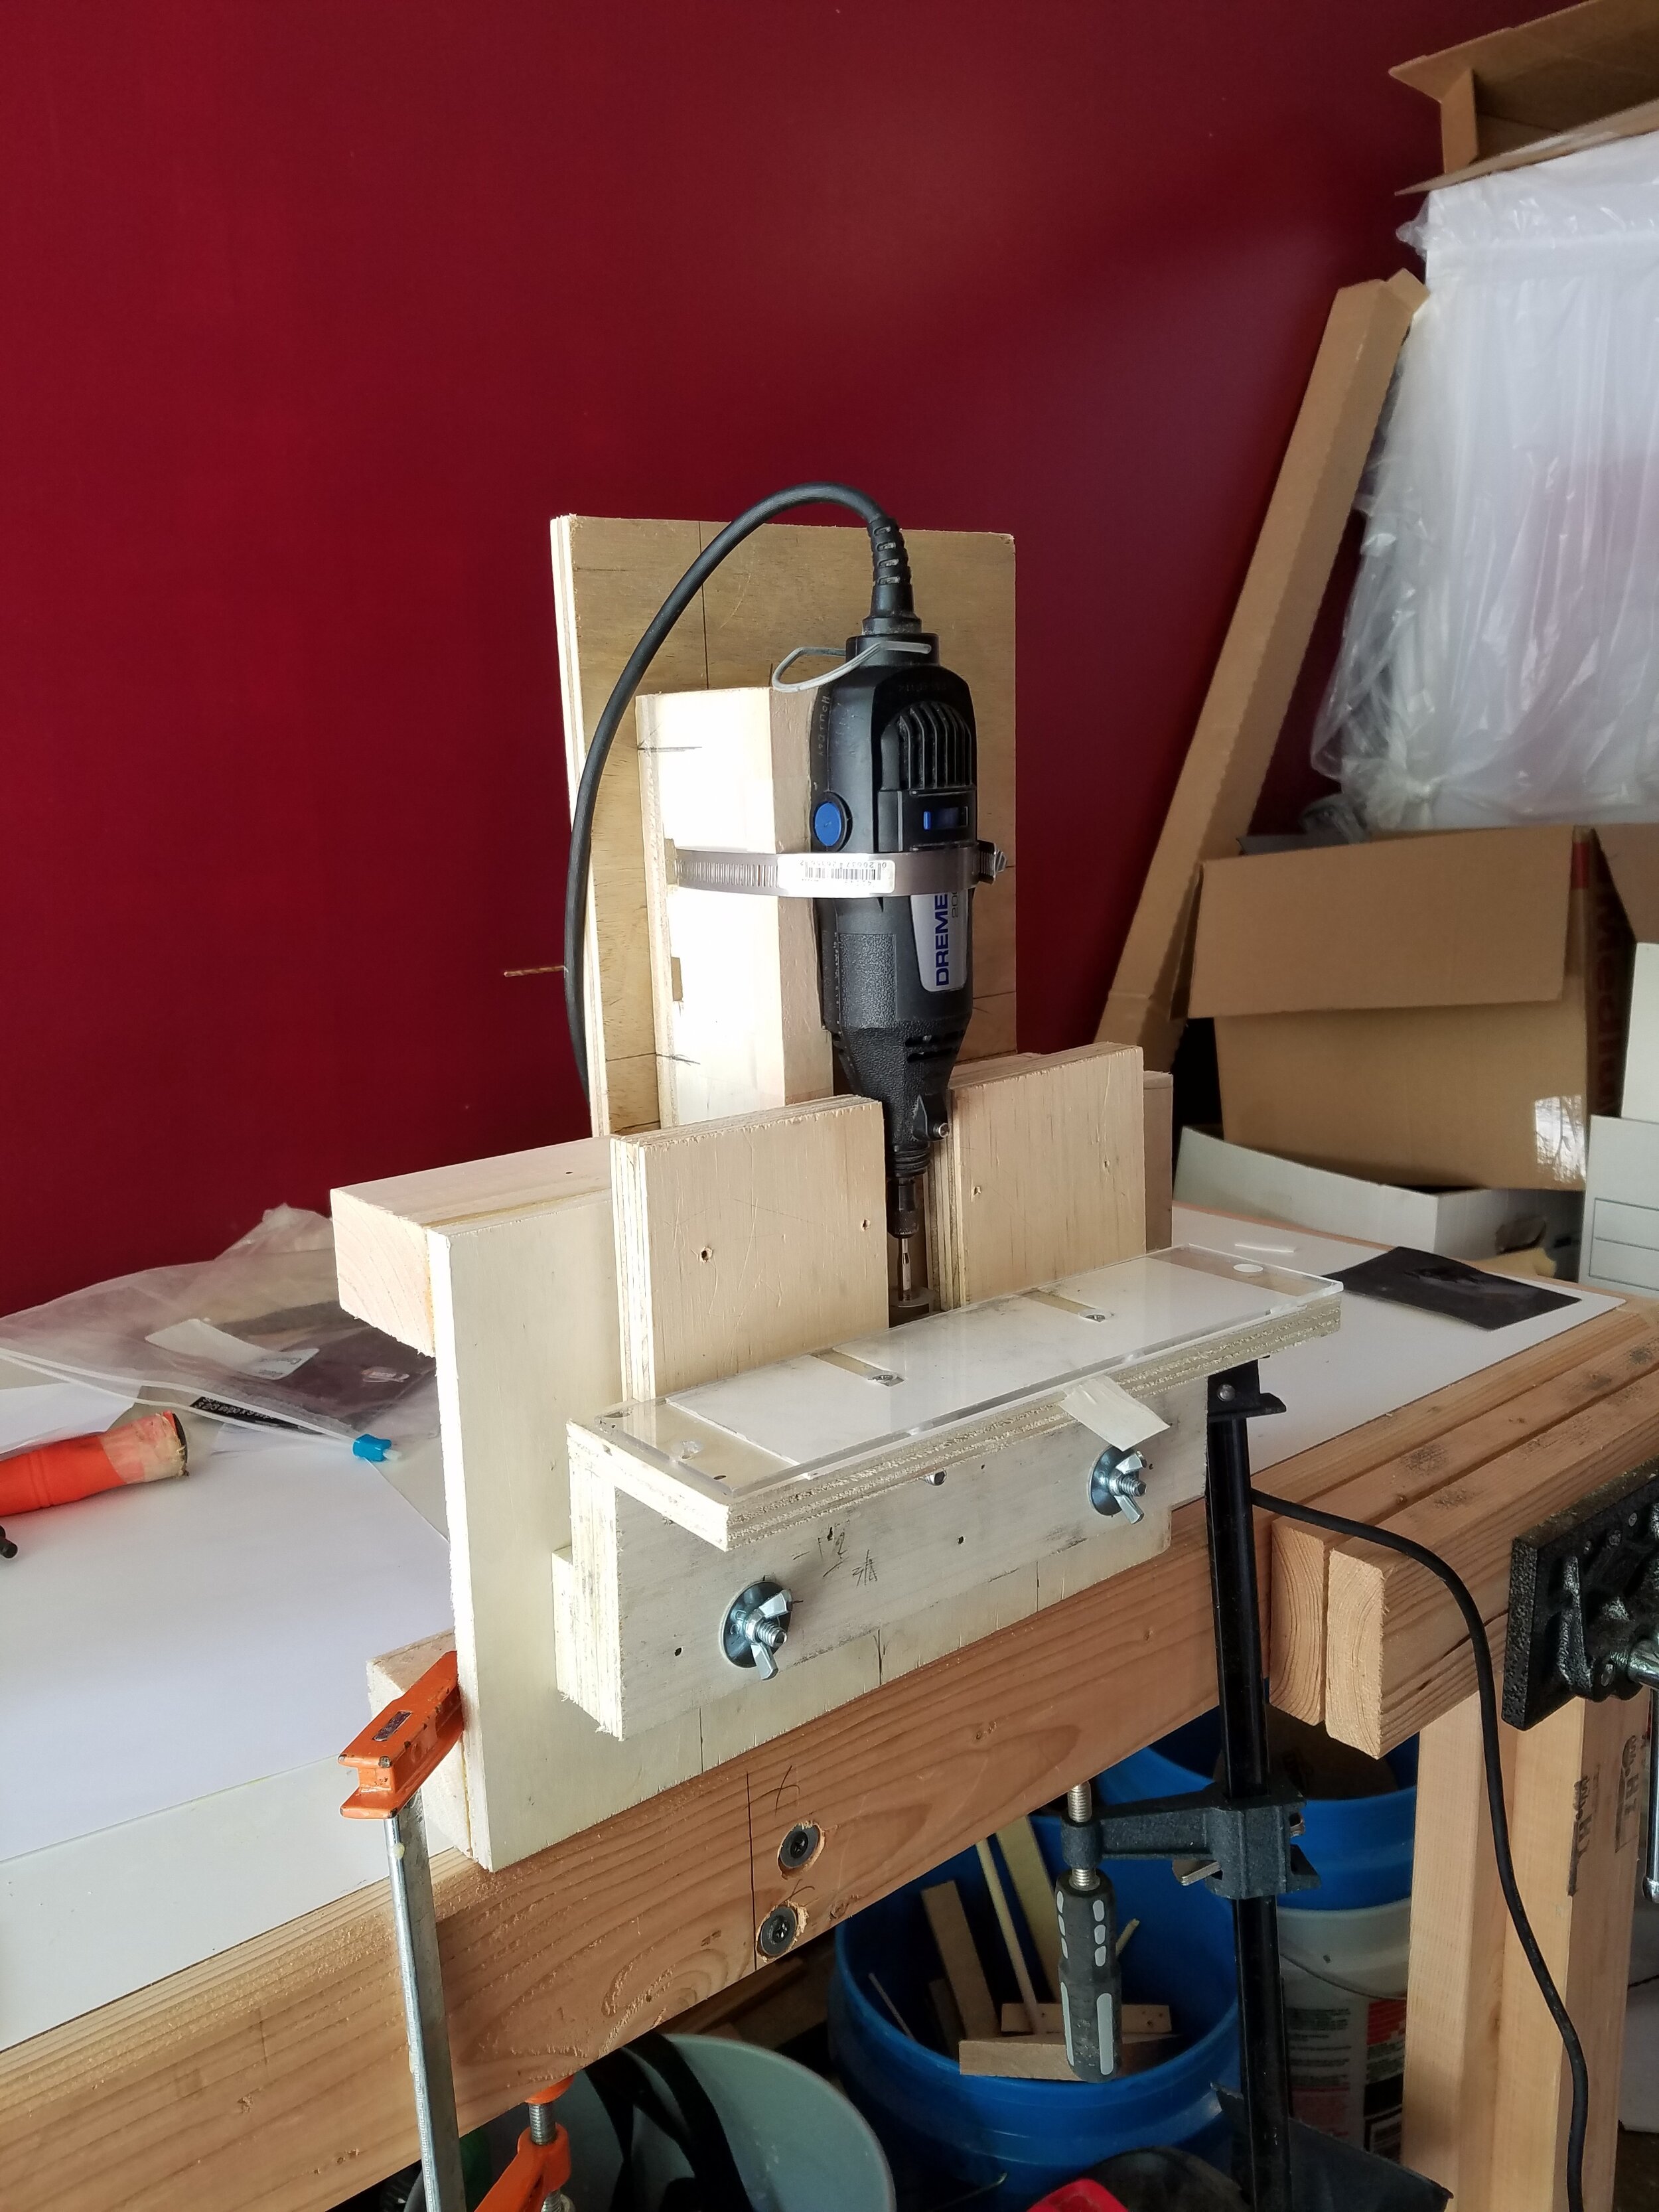
This is where I turned a simple project into a complicated one. I want a lining tool: one that can produce multiple lines at once. At this size I had a hard time shaping the end with files. A rotary tool could do it, but was hard to guide. Why not make a jig?
This rotary tool jig allowed me to present the metal graver to a diamond cutting wheel at a consistent angle. The base could be adjusted to allow consistent spacing between cuts. I built in an option to rotate the dremel in case I needed that in the future.
There’s no fun quite like making a tool to make tools to carve a block to pull a print.
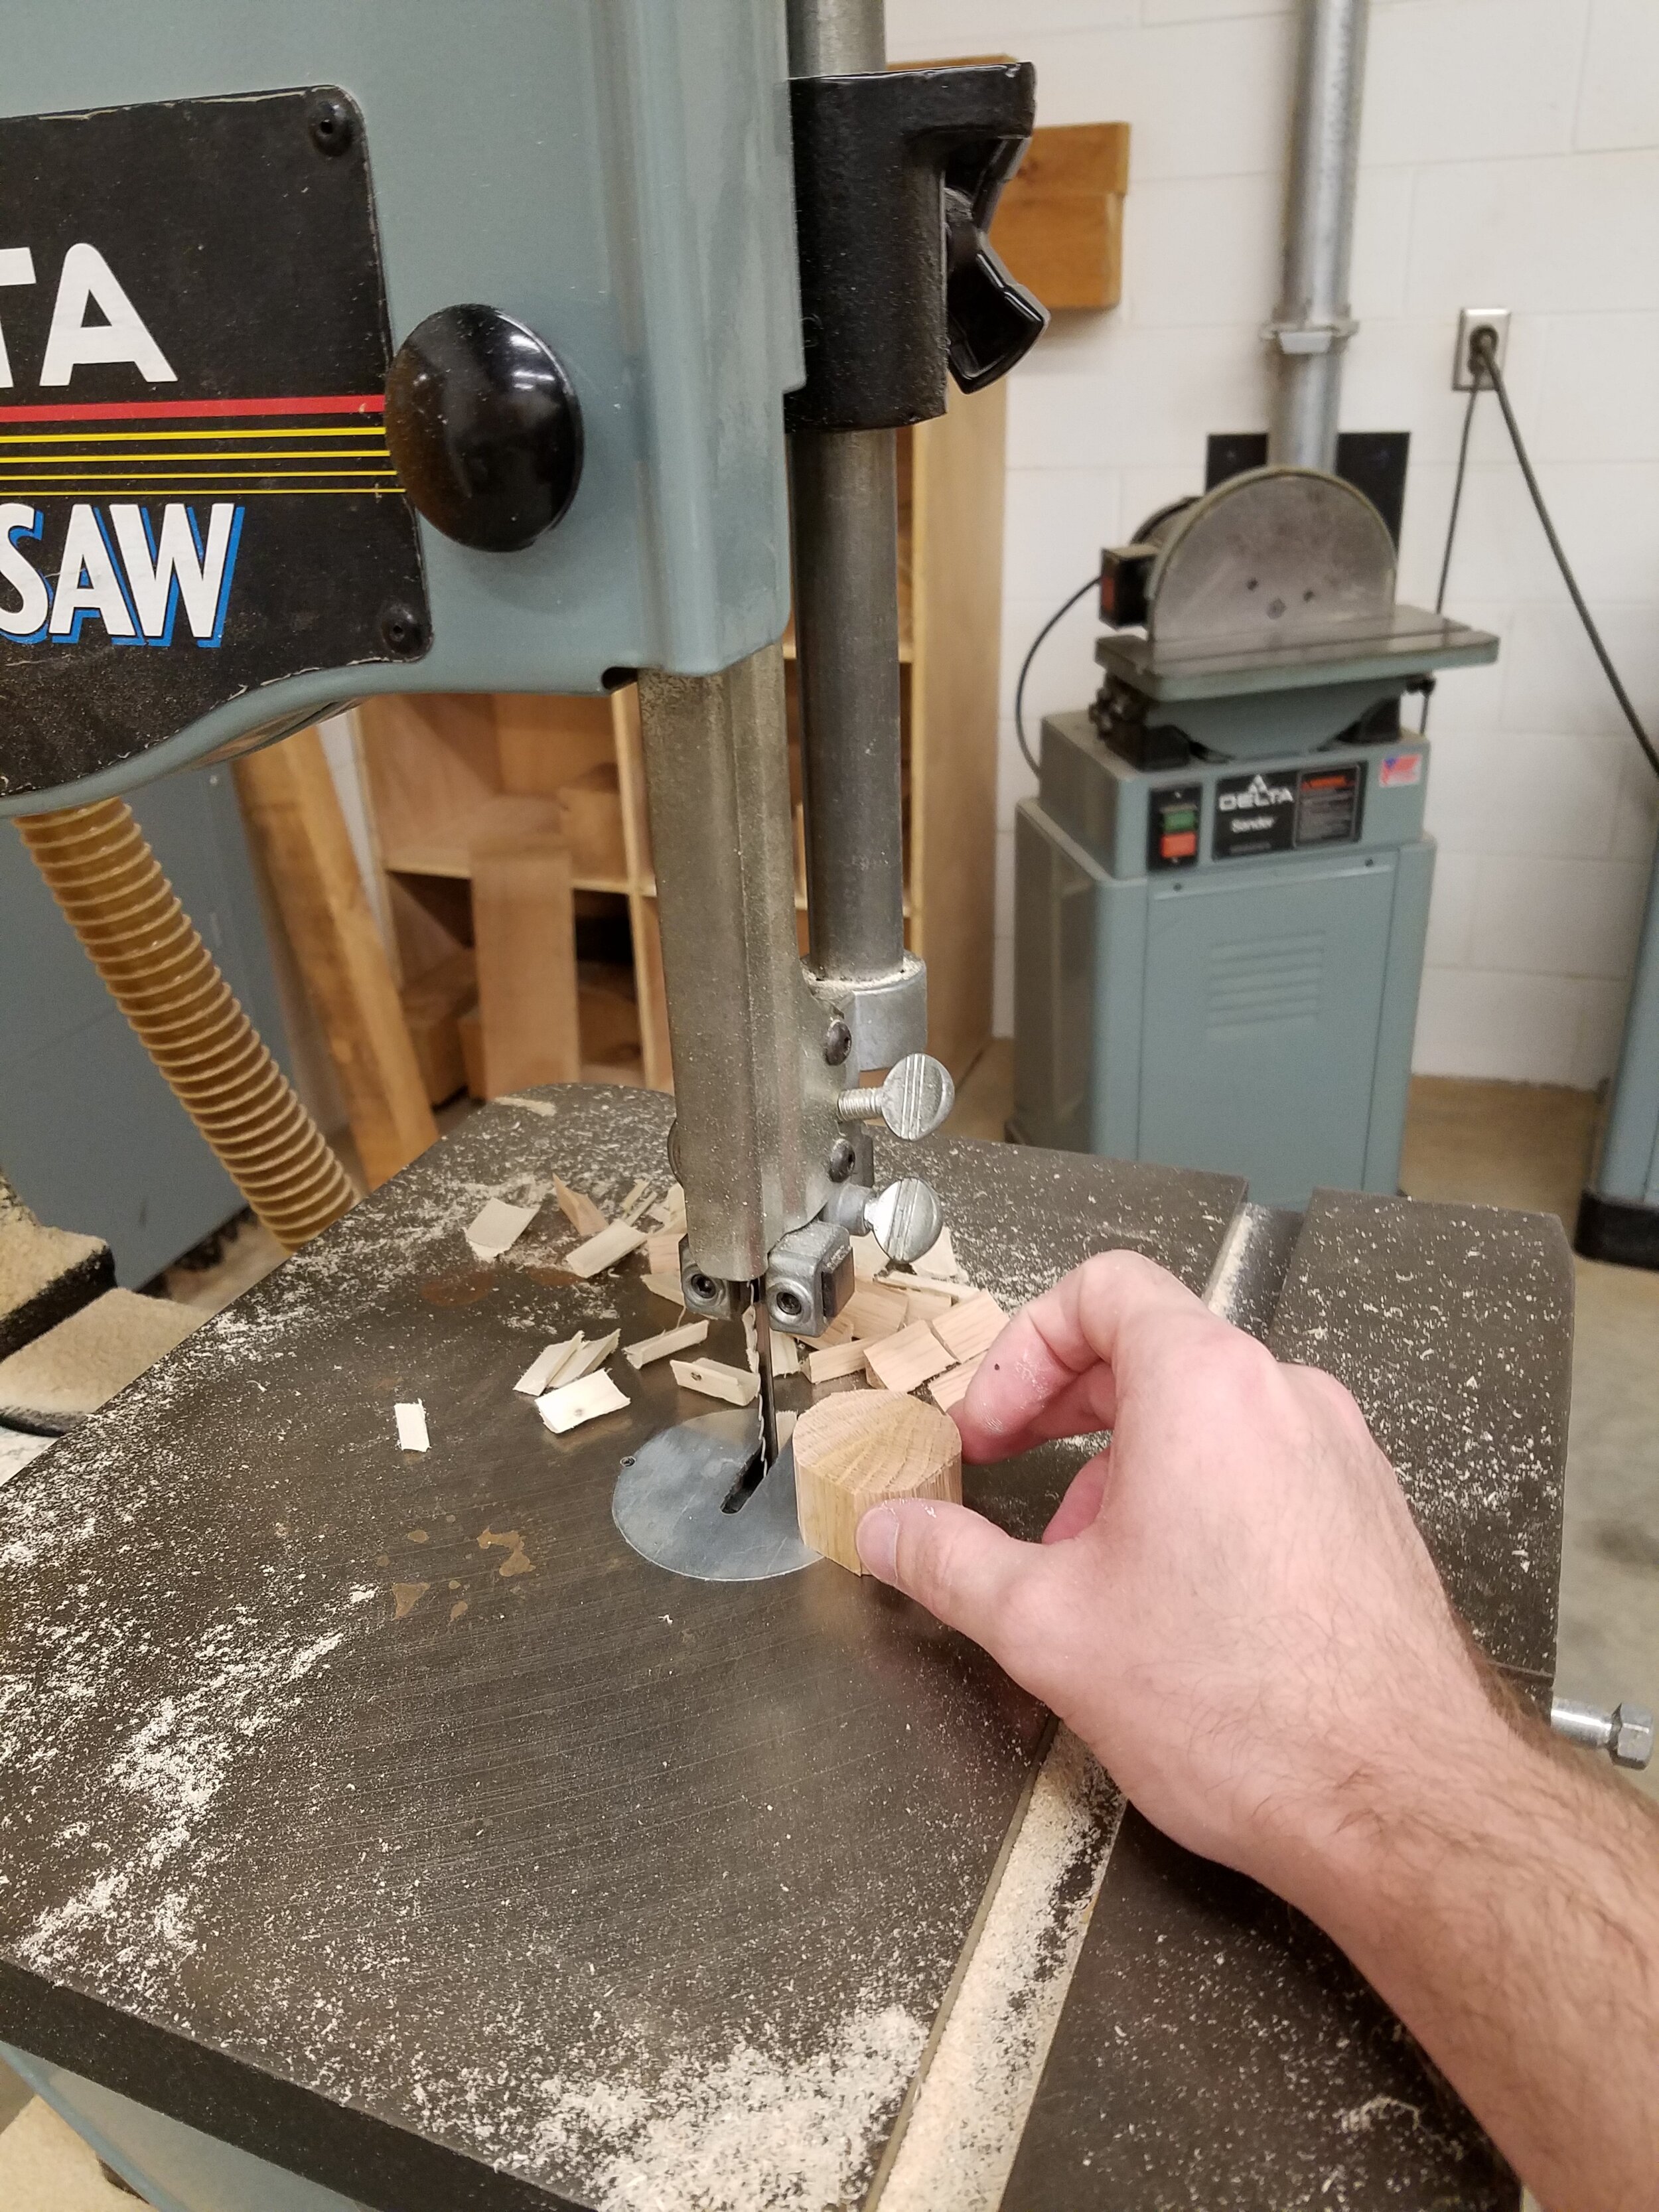
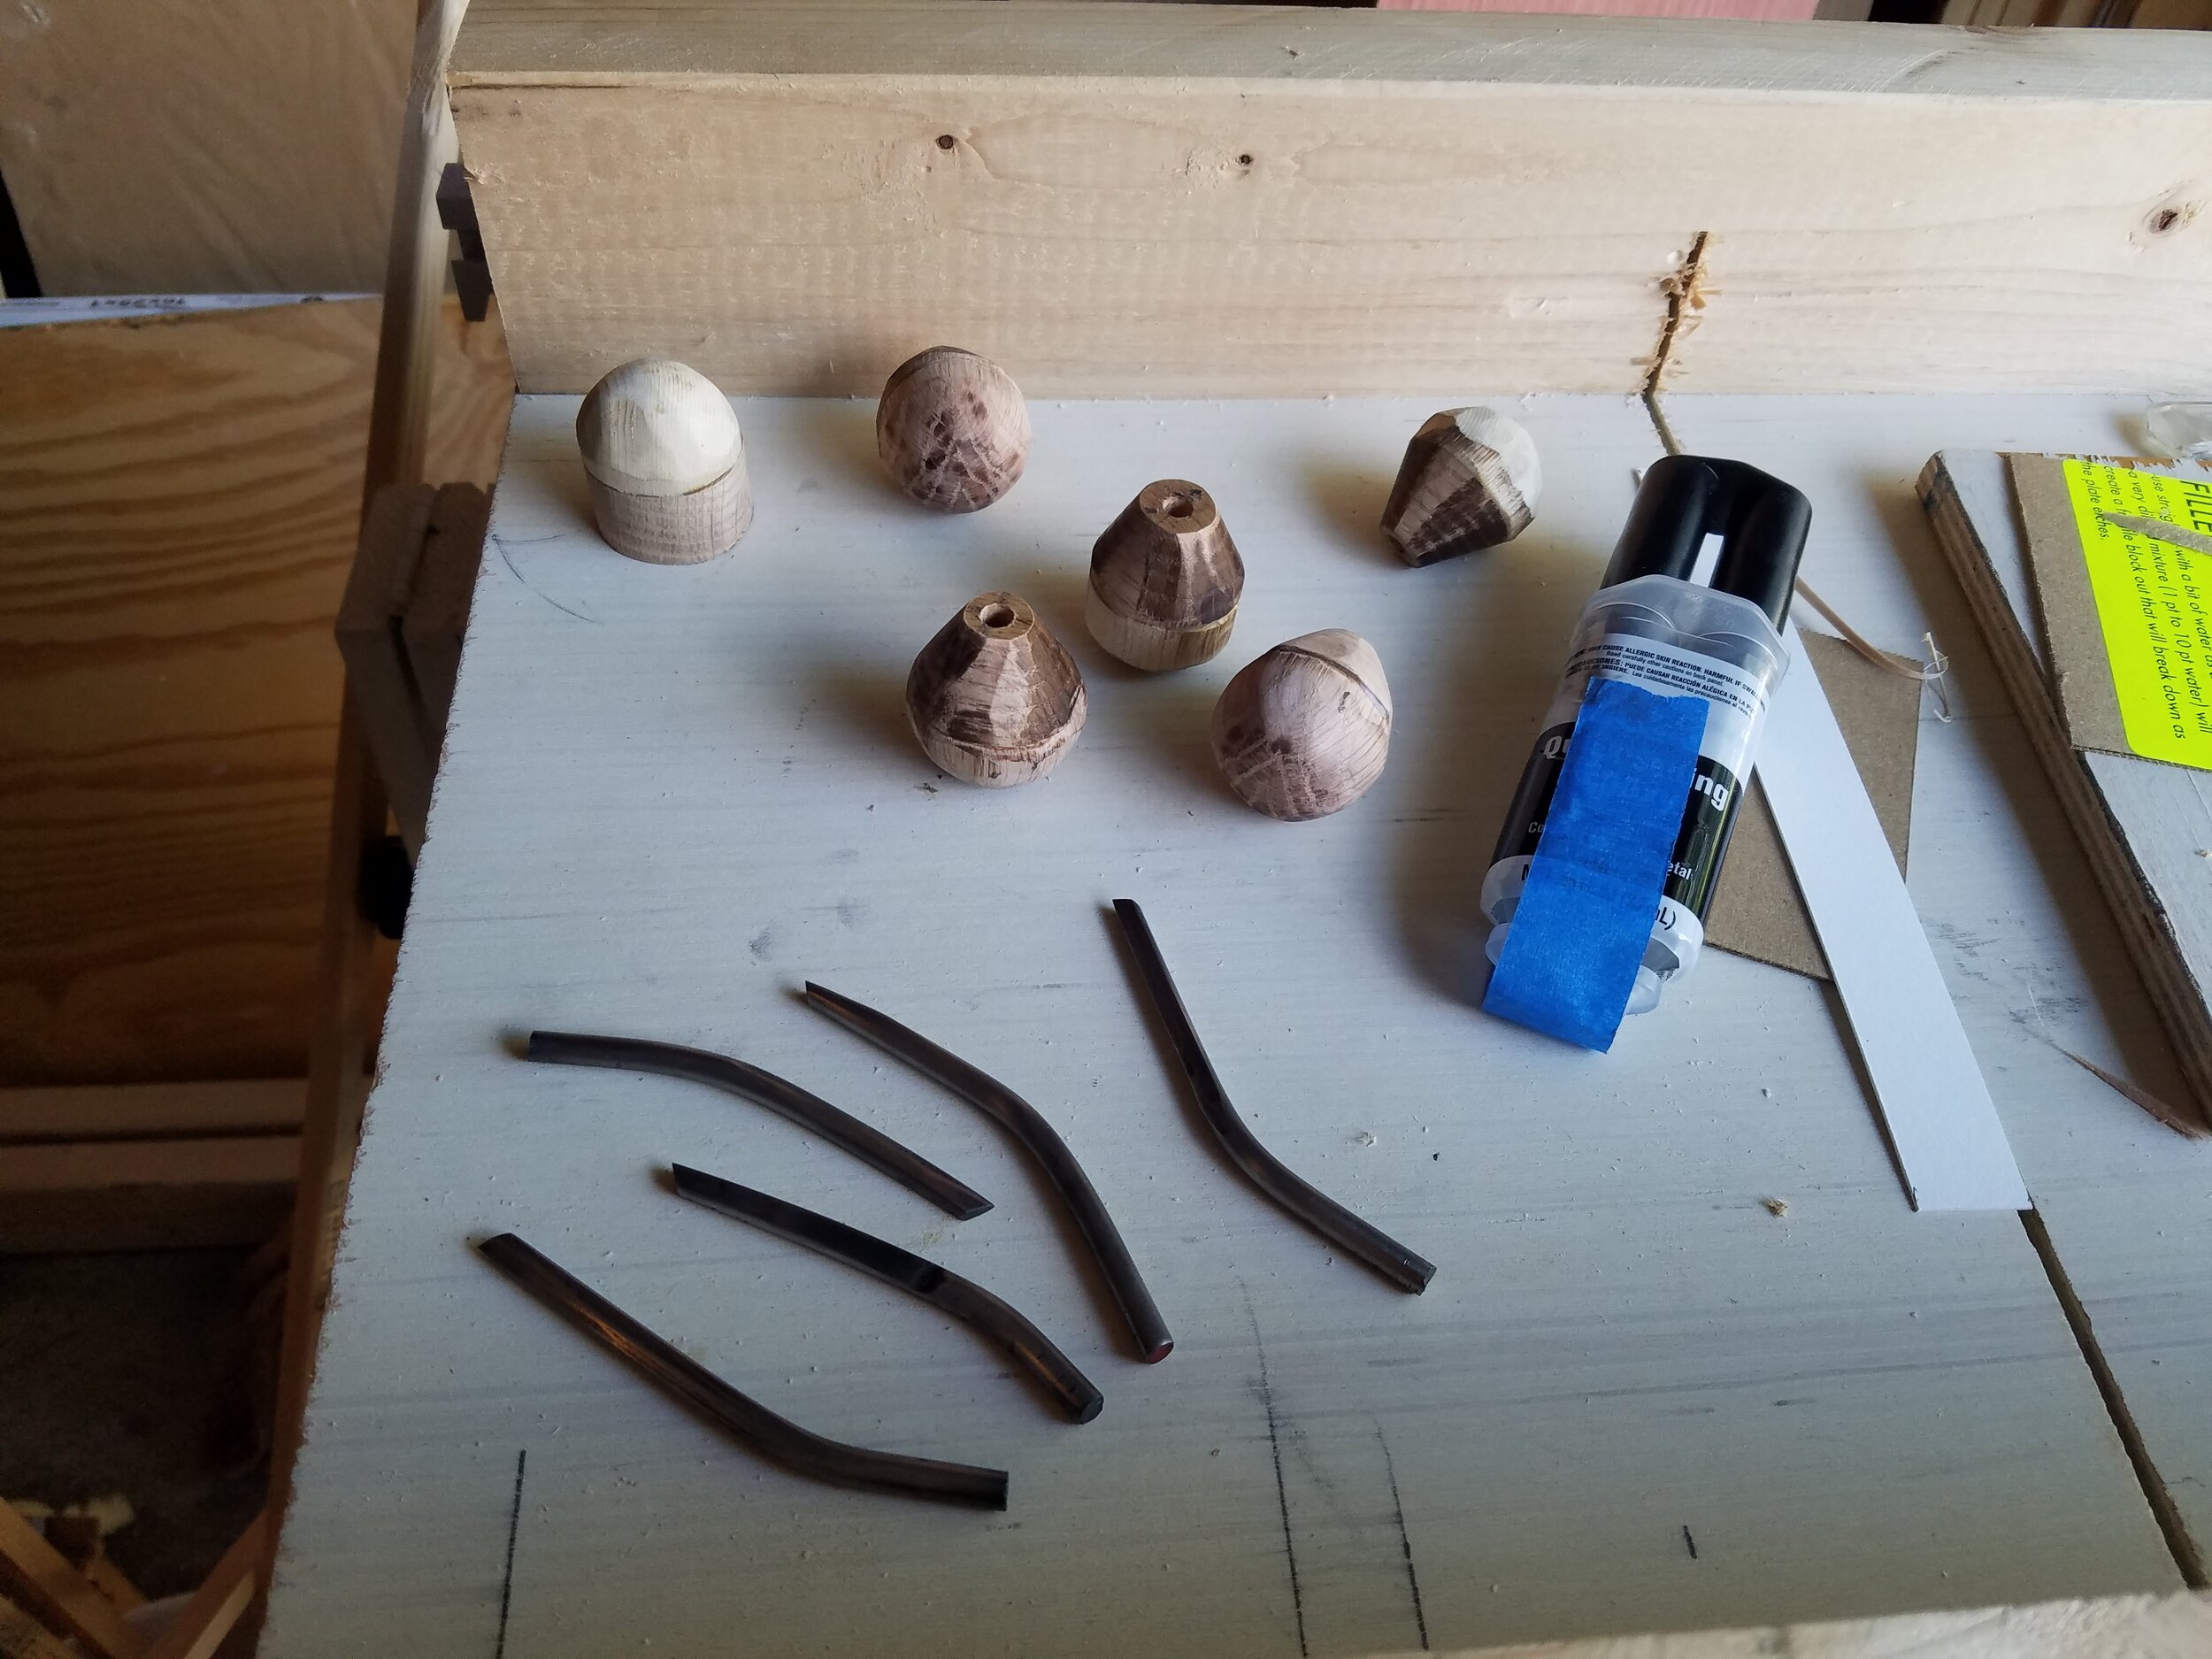
Handle blanks were cut on the band saw.
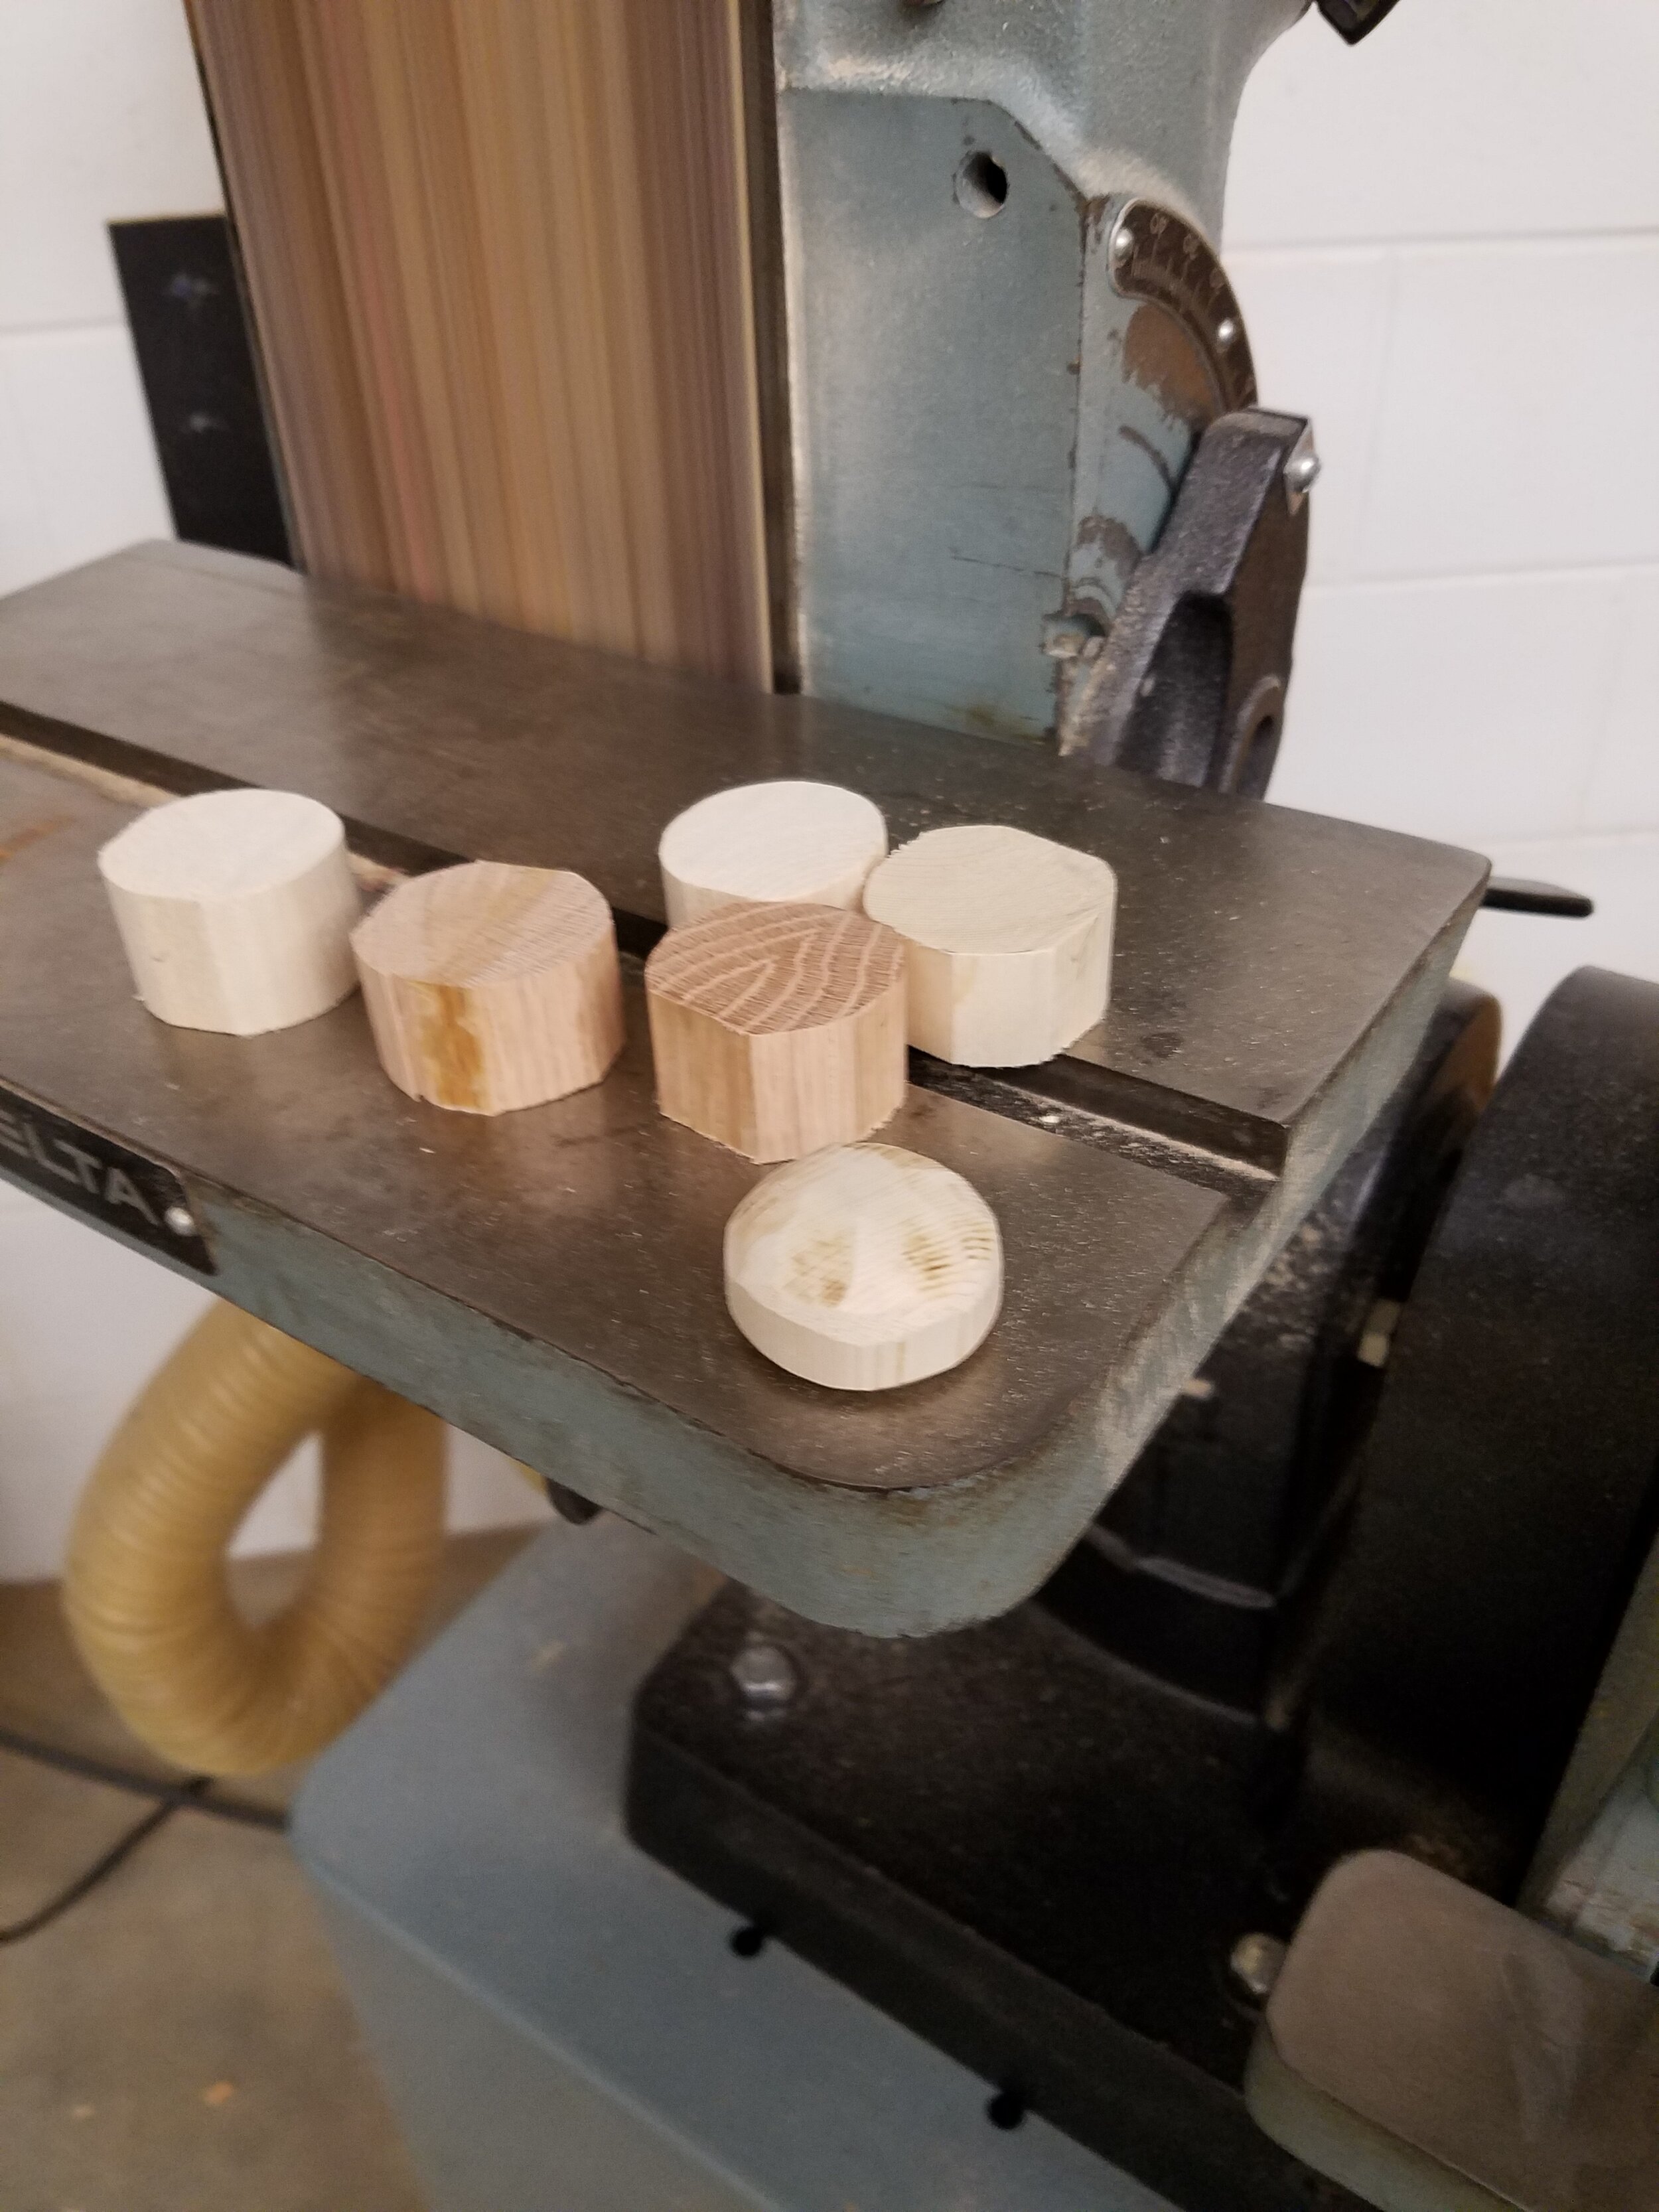
Shaping was done on the sander.
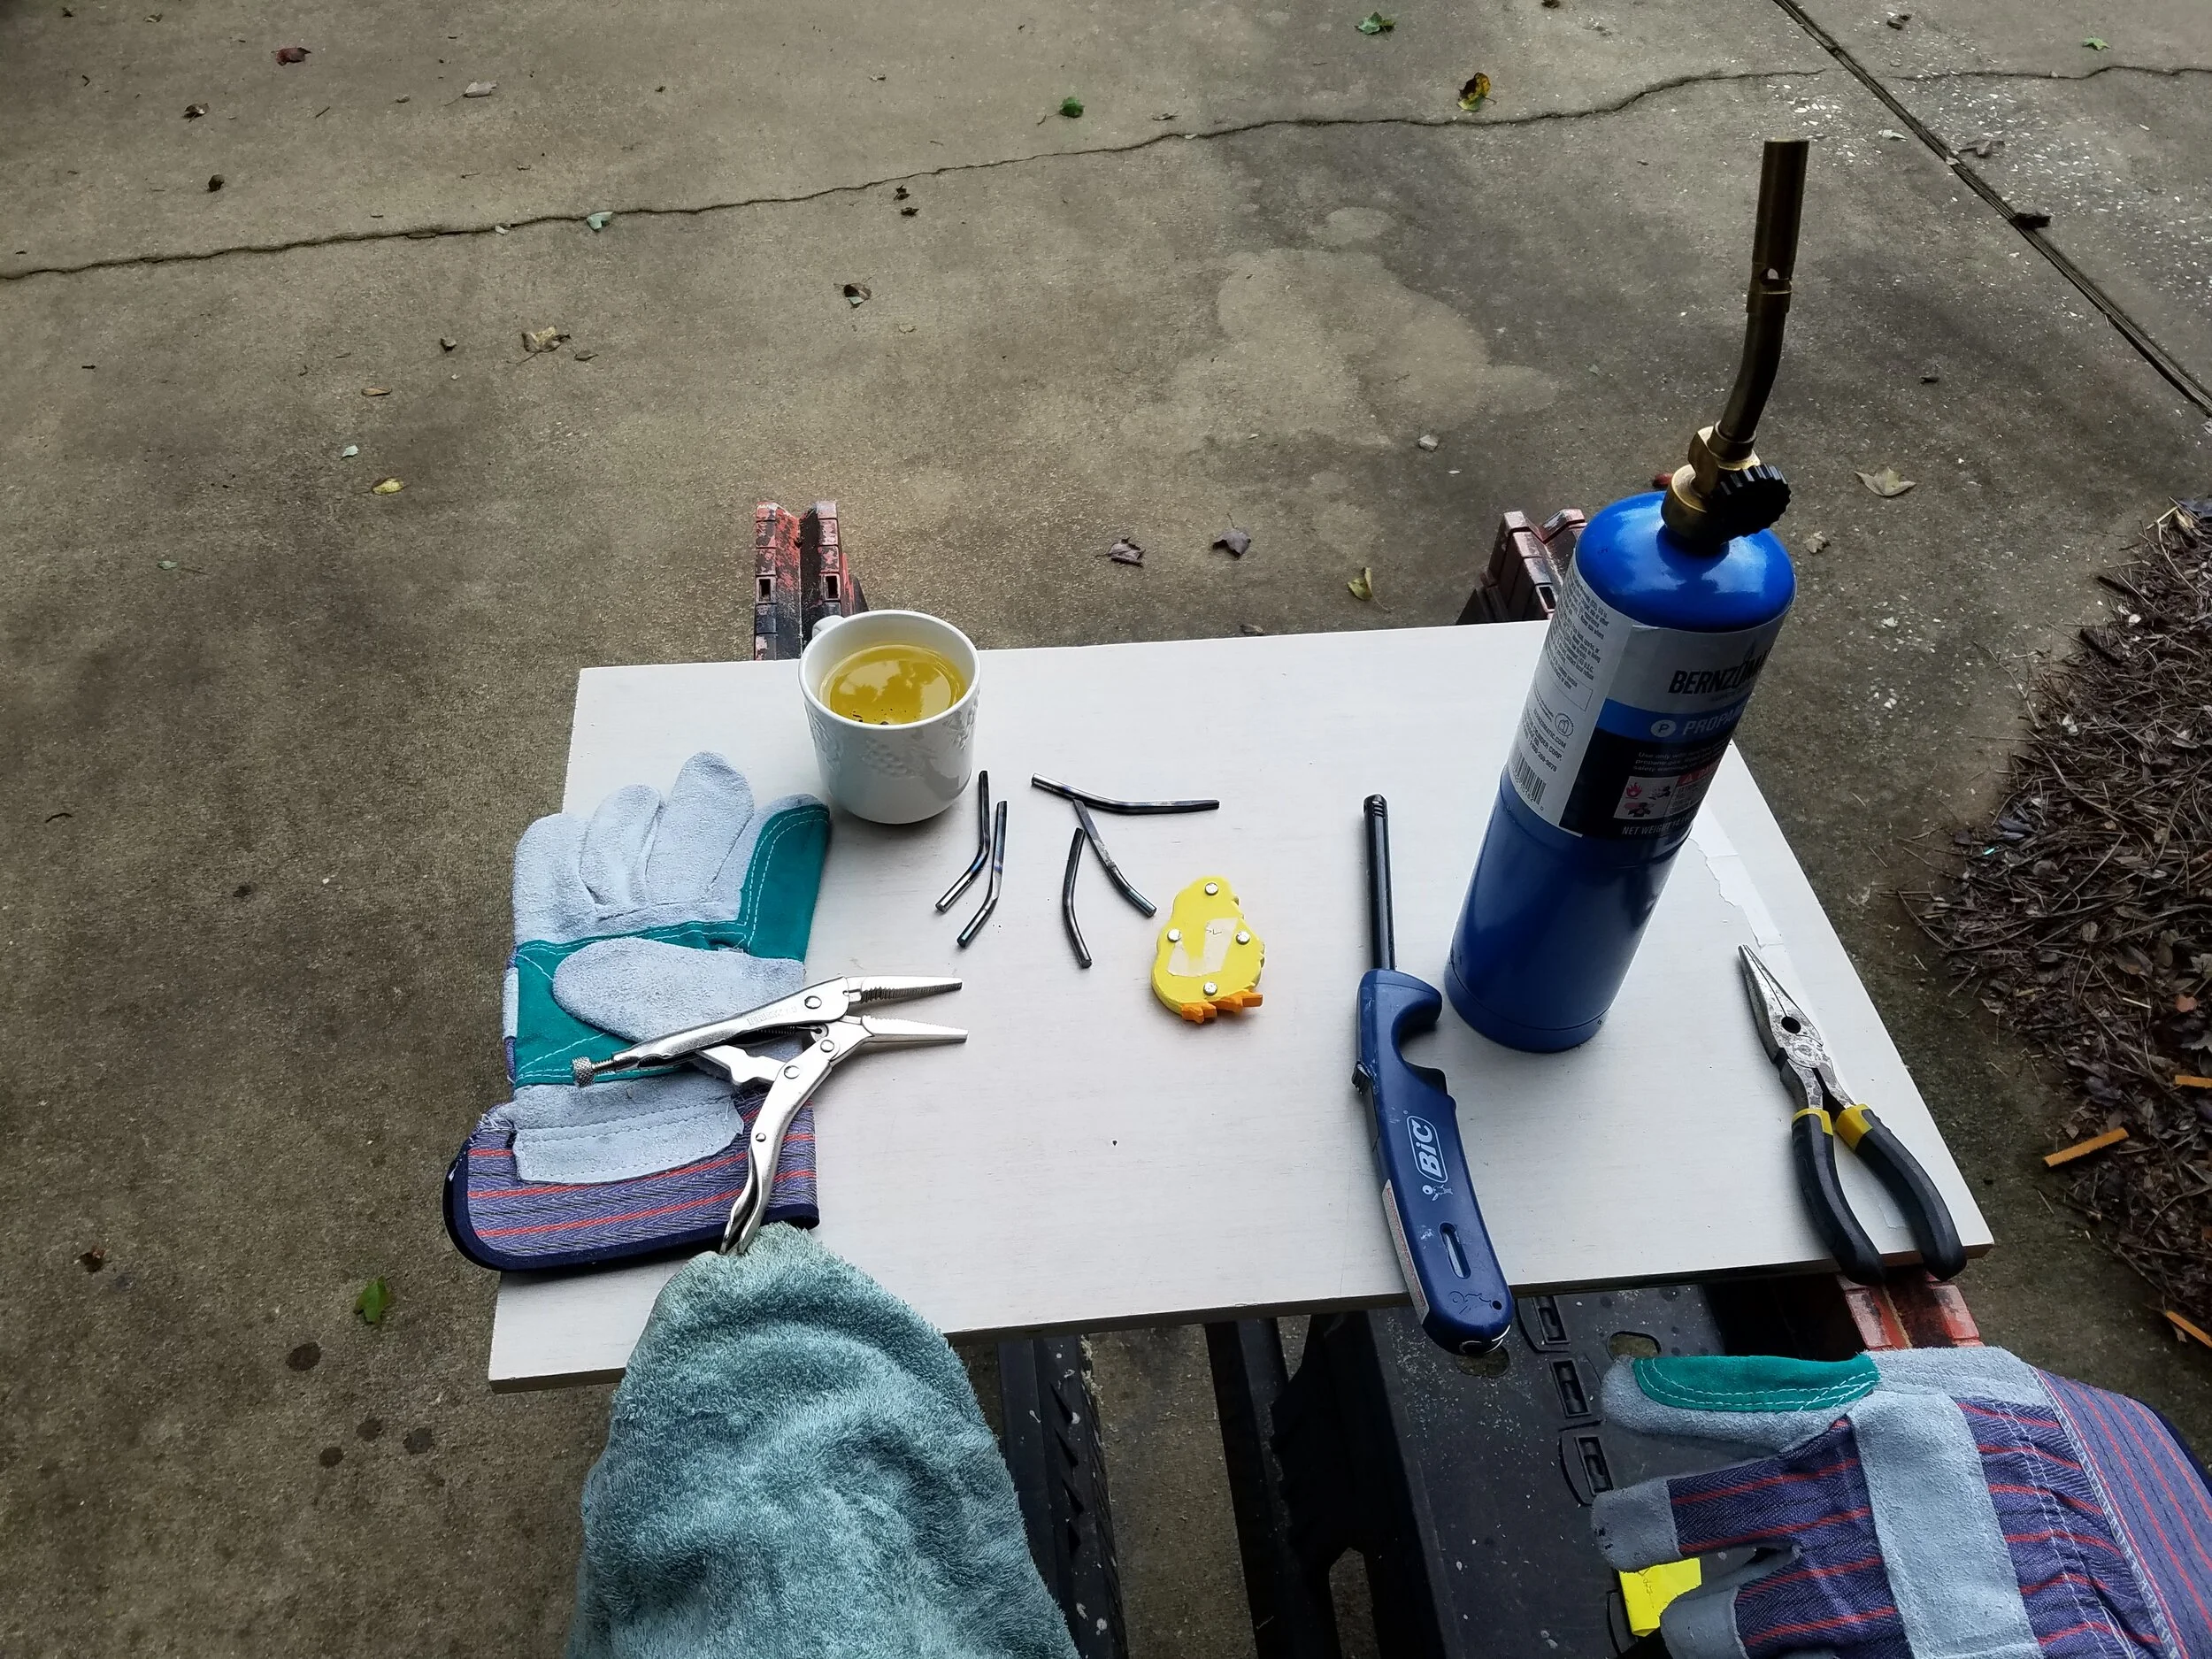
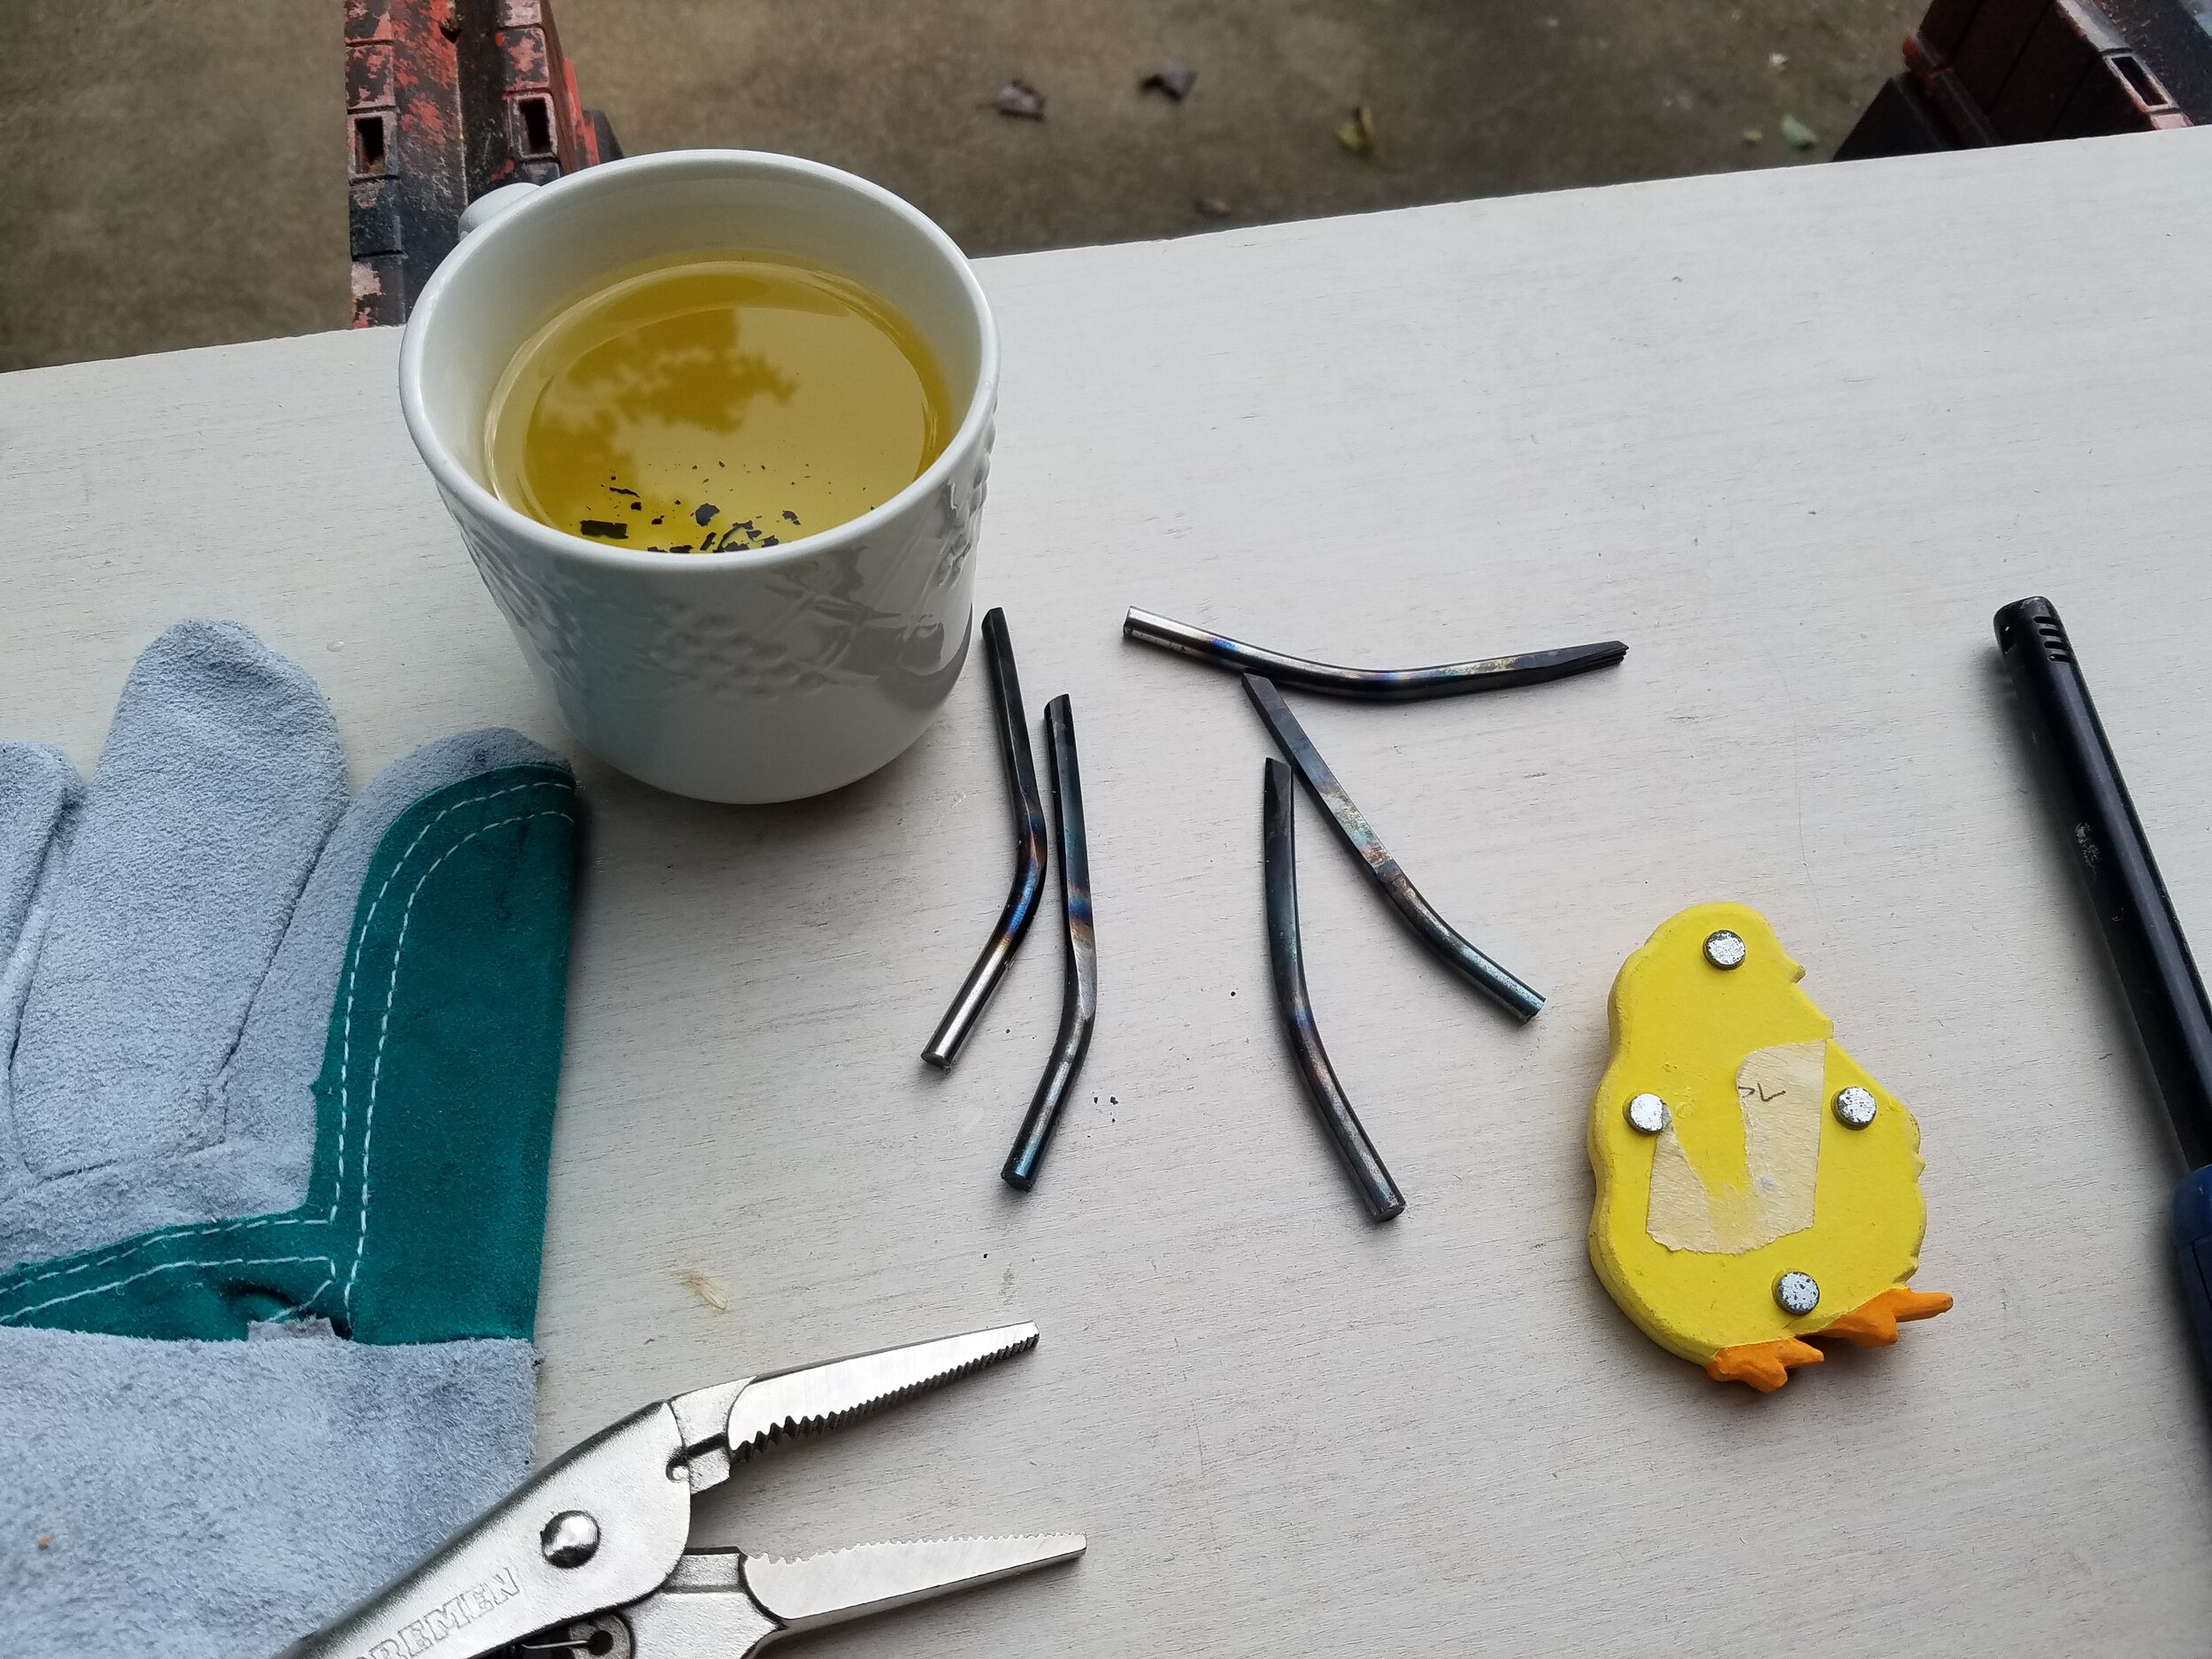
The tool steel is soft and easy to shape at first. Once that work is done, it must be hardened by heating and quenching in oil.
The fridge magnet is there so I can check the magnetism of the heated steel. The glow I was looking for can be harder to see in a bright space.
The steel goes through one more round of heat in the oven, and then it is cleaned.
Finally, the handles go on.
The finished tools seem to work well. I tested them on a slice of oak with some success. This wood has uneven density. A different species of wood would be more suitable, but as a test I am happy with it.